What Size Window Apron Board Balances with 3.5-Inch Casing Trim?
Finding the right size window apron board balances with 3.5-inch casing trim by ensuring the proportions of your interior woodwork remain visually stable. When you choose a wider casing like 3.5 inches, the apron must provide enough visual weight to support the window stool without looking spindly or disconnected from the surrounding wall treatment.
Achieving this balance depends on matching the thickness and the width of your apron stock to the profile of your casing. This article explores how to select the correct dimensions for your home, helping you avoid common aesthetic pitfalls while creating a professional finish that complements your architectural style.
Determining the Ideal Apron Width
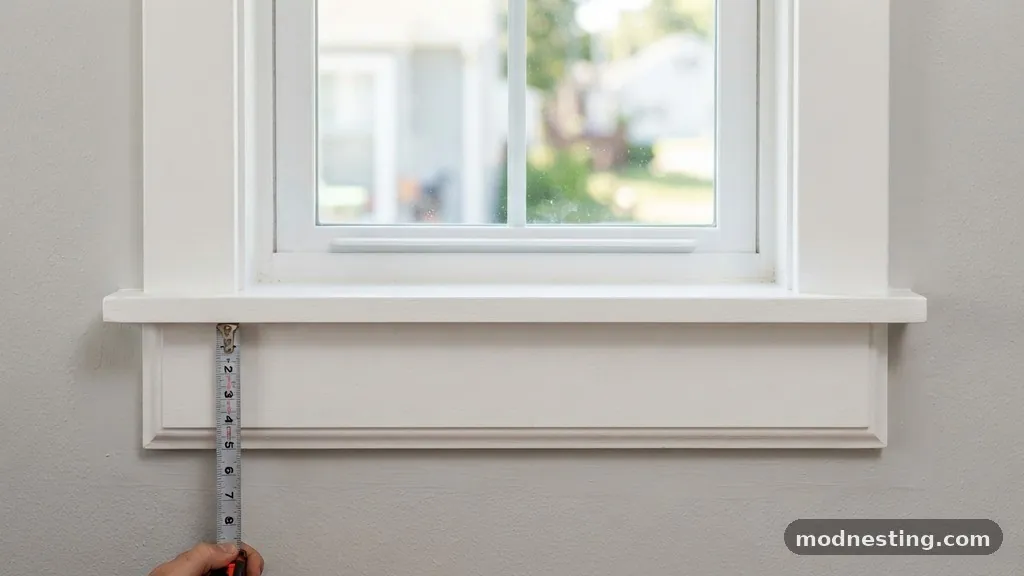
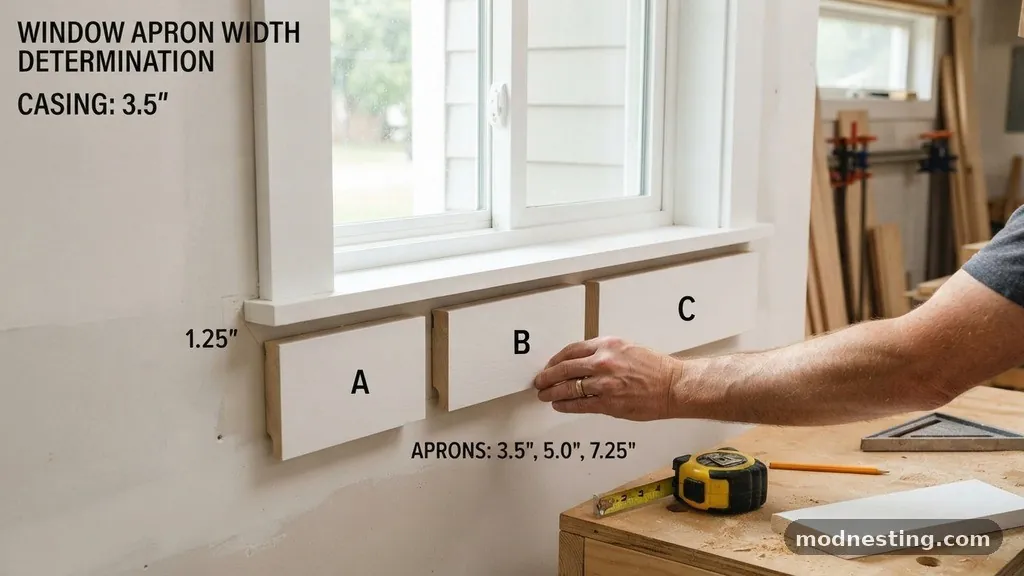
When working with 3.5-inch casing, the apron board should ideally match the width of the casing itself. Using a board that is exactly 3.5 inches wide creates a sense of continuity that draws the eye horizontally across the bottom of the window frame. This alignment ensures that the vertical lines of the casing meet the horizontal line of the apron with a clean, deliberate transition.
If you opt for an apron that is narrower than the casing, the window can appear top-heavy or poorly framed. A 3.5-inch casing is considered a substantial profile, often associated with Craftsman or farmhouse styles, which demand a robust foundation. Using a smaller board, such as a 2.5-inch piece, often results in a “pinched” look where the apron seems to disappear beneath the stool.
Conversely, some homeowners prefer an apron that is slightly wider than the casing to create a more decorative, base-heavy appearance. If you choose to go wider, stick to an increase of no more than 0.5 to 1 inch. Exceeding 4.5 inches for an apron board with 3.5-inch casing can overwhelm the window, making the trim look clunky rather than intentional.
Understanding the Role of the Stool
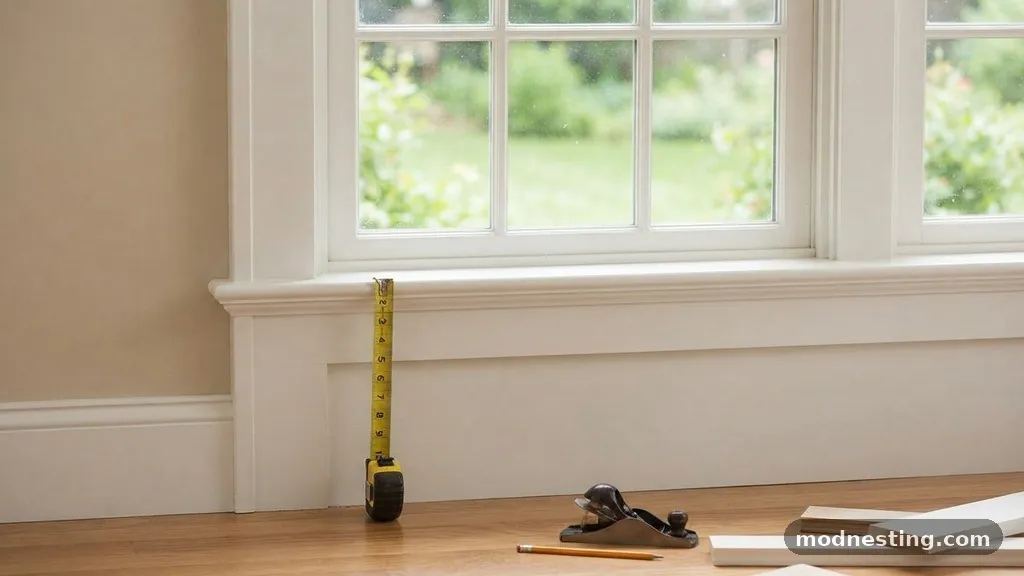
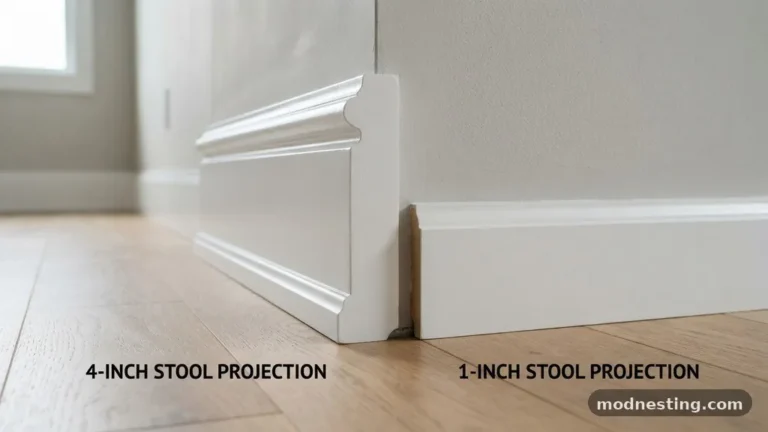
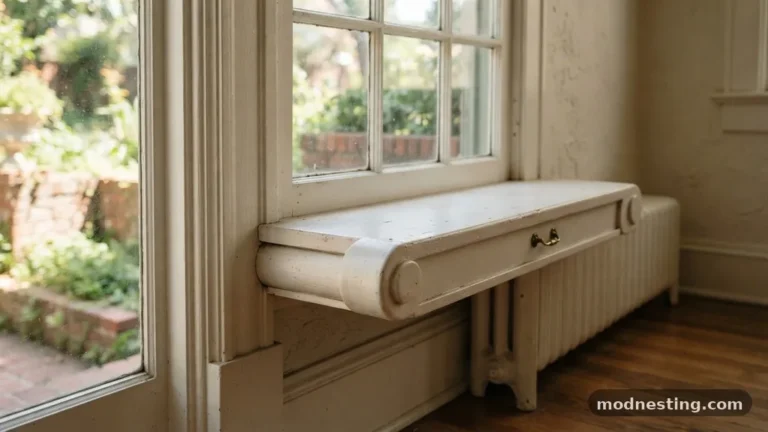
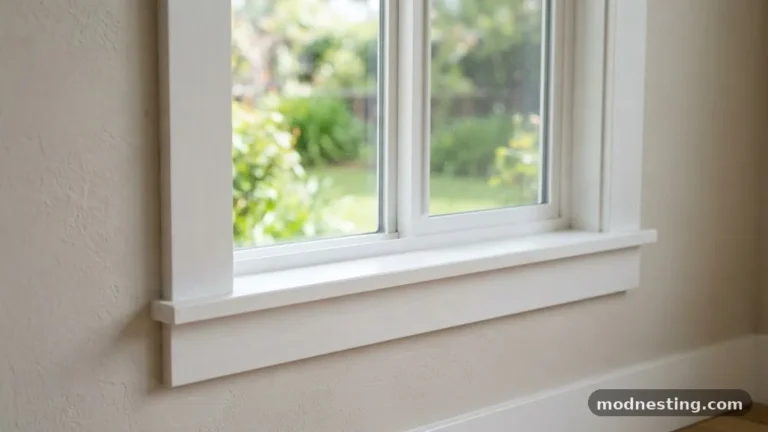
The window stool is the interior horizontal ledge that sits directly on top of the apron. It acts as the bridge between the window frame and the wall, and its projection into the room dictates how your apron will sit. When you have 3.5-inch casing, the stool usually projects about 1 inch to 1.5 inches beyond the face of the casing.
The apron board is installed directly beneath this stool to provide structural support and aesthetic finish. Because the stool often has a rounded or bullnose edge, the apron must be thick enough to sit flush against the wall while leaving a small reveal beneath the stool. A standard 0.75-inch thick board is the industry norm for this application.
If your stool has a decorative profile or a heavy edge, you must account for that depth when measuring your apron. The apron should not protrude further than the face of the casing, or it will create an awkward shadow line. Always prioritize a profile that allows the apron to look like a natural extension of the window’s structural assembly.
Matching Profiles and Molding Styles
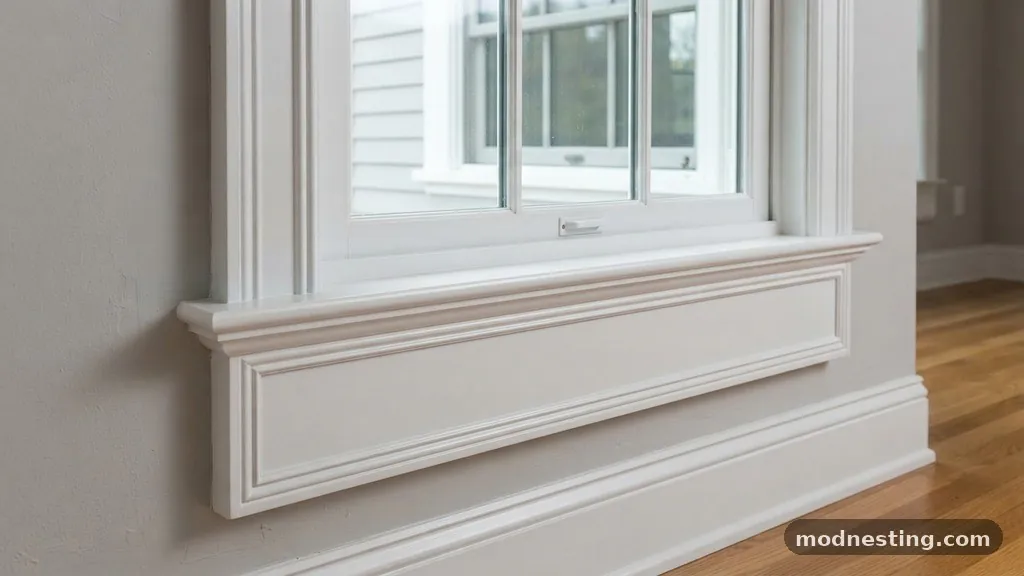
The profile of your 3.5-inch casing influences the shape of the apron board you select. If your casing features a classic backband or a stepped profile, your apron should ideally mirror those design elements. You can often buy stock that matches the casing’s specific “look,” ensuring that the grain and shape remain consistent throughout the house.
For a traditional look, many builders use a flat apron board with a simple eased edge. This works well with 3.5-inch flat-stock casing, which is common in modern farmhouse renovations. If your casing is more ornate, you might consider an apron with a small cove or bead molding attached to the top edge to bridge the gap to the stool.
Keep in mind that the finish of the wood also plays a role in how the size is perceived. A dark-stained apron will appear more prominent than a white-painted one, even if the dimensions are identical. If you are painting your trim, you have more flexibility with profiles because the paint unifies the various pieces of wood into a single visual unit.
Visual Weight and Room Scale
A 3.5-inch casing is significantly wider than the standard 2.25-inch trim found in many mid-century homes. Because of this added width, the entire window assembly takes up more visual space on the wall. The apron must be sized appropriately to anchor this increased weight, or the window will look like it is floating on the wall.
In rooms with high ceilings, you can get away with slightly larger trim profiles, including wider aprons. However, in rooms with standard 8-foot ceilings, oversized trim can make the space feel smaller and more confined. Always hold a scrap piece of your chosen apron material against the wall under the stool to visualize the proportions before you cut all your stock.
Consider the other trim in the room as well, such as baseboards and door casings. If your baseboards are also 3.5 inches or wider, a matching apron size creates a cohesive design language. If your baseboards are smaller, a massive apron might look like an afterthought, so aim for a balance that ties your baseboards and window casings together.
Measurement and Installation Tips
When calculating how much stock you need, remember that the apron usually extends past the casing on both sides. A common rule of thumb is to have the apron extend 0.5 to 1 inch beyond the outer edge of the casing. This creates a “return” or a small lip that finishes the look properly.
If you are cutting your own apron boards, use a miter saw to ensure your ends are perfectly square. If you want a more finished look, you can “return” the ends of the apron by cutting small 45-degree pieces that wrap around the side of the apron board. This hides the end grain and makes the trim look like a solid, custom-milled piece.
Always test your fit with a dry run before applying wood glue or finish nails. Because walls are rarely perfectly flat, you may need to scribe the back of the apron to the wall to ensure a tight seam. A clean, gap-free installation is more important to the final aesthetic than being off by a quarter-inch in width.
Common Materials for Window Trim
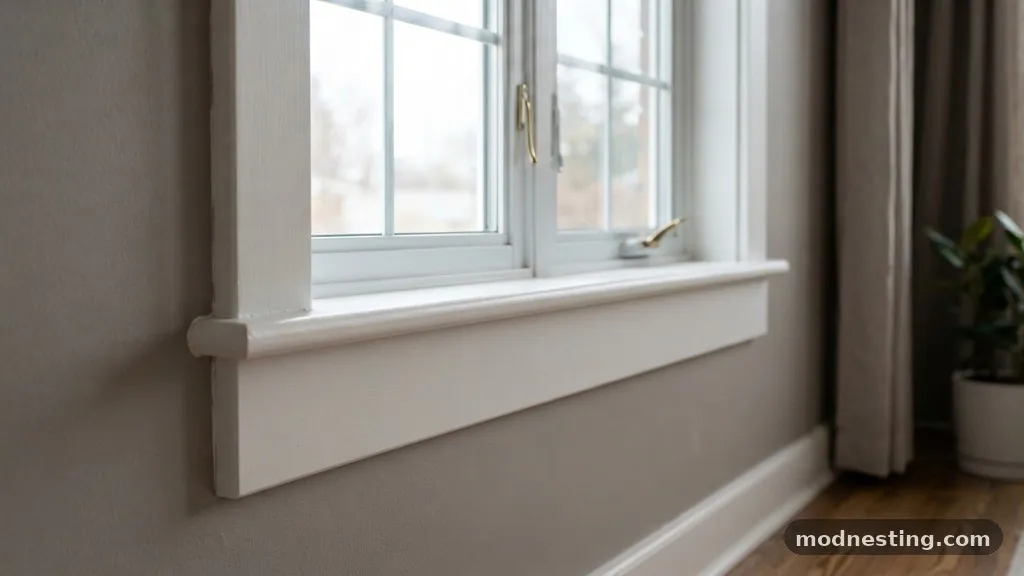
The material you choose for your apron board will affect how it holds paint or stain over time. Solid wood, such as pine or poplar, is the most common choice for interior trim because it is easy to work with and takes paint well. If you are staining the wood to show off the grain, choose a high-quality hardwood like oak or cherry.
For moisture-prone areas like bathrooms or kitchens, consider using cellular PVC or primed MDF. These materials are highly resistant to humidity and won’t warp or swell like solid wood. While PVC is more expensive, it is a “set it and forget it” solution that maintains its shape over decades of use.
If you are curious about the technical specifications of various wood products used in construction, you can consult the Forest Products Laboratory for detailed information on wood properties and moisture stability. Choosing the right material ensures that your window assembly remains stable even as the house settles.
Comparison of Trim Proportions
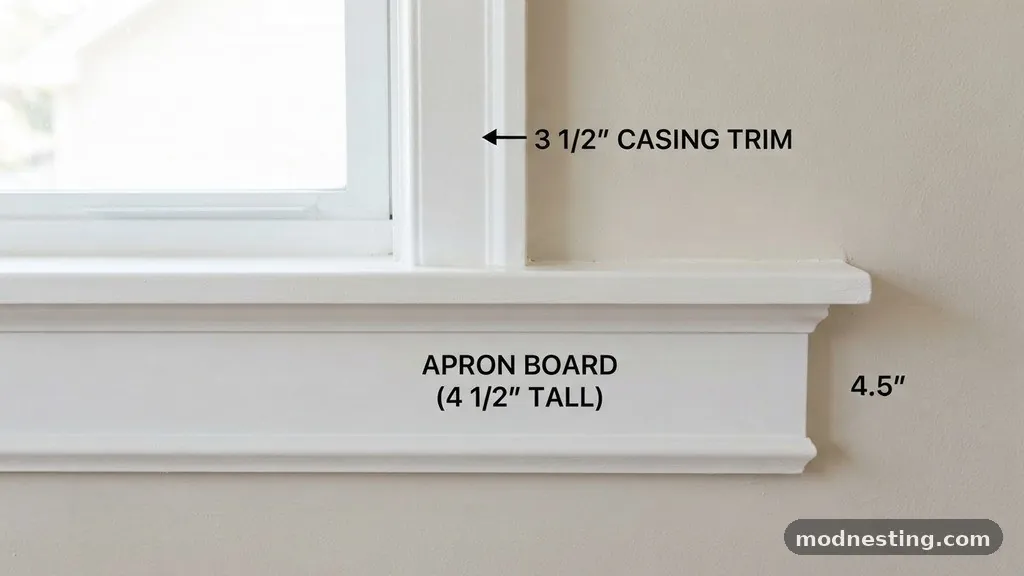
The relationship between casing width and apron size is often a matter of balancing horizontal and vertical lines. The table below outlines how different casing widths typically pair with apron sizes to maintain visual harmony.
| Casing Width | Recommended Apron Width | Visual Effect |
|---|---|---|
| 2.25 inches | 2.25 inches | Minimalist, subtle transition. |
| 3.5 inches | 3.5 inches | Balanced, standard Craftsman look. |
| 5.5 inches | 4.5 to 5.5 inches | Heavy, dramatic, traditional. |
As shown in the table, matching the width of the casing to the apron is the safest way to ensure a professional result. When you increase the width of your trim, the apron should scale proportionally to avoid looking weak. Following these standard ratios prevents the need for constant adjustments during the installation process.
Checklist for a Professional Finish
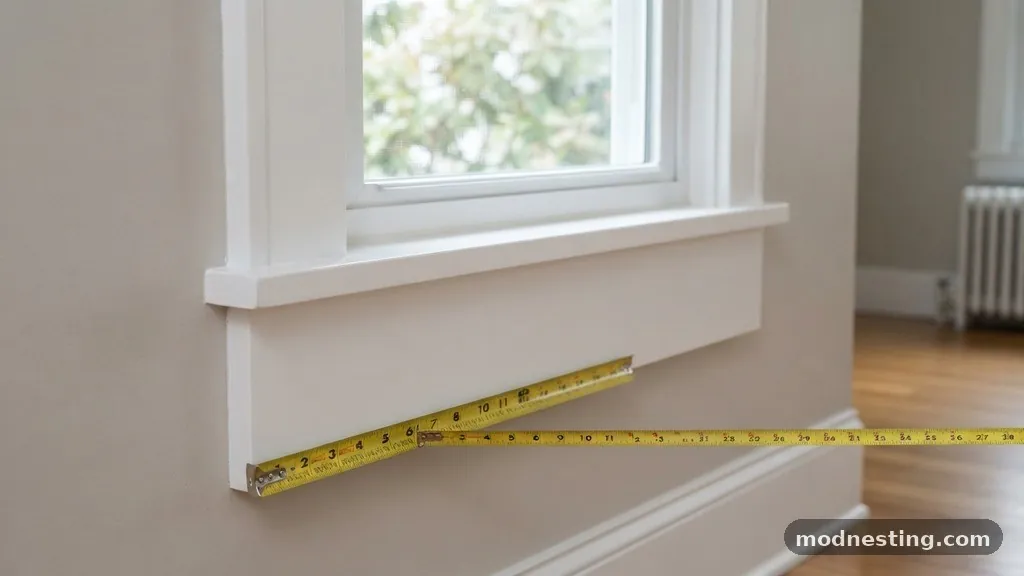
Before you begin your project, gather the necessary tools and materials to ensure the work goes smoothly. A well-prepared workspace reduces the likelihood of errors and helps you achieve a high-quality finish.
- Measure the total width of the window opening including the casing.
- Confirm that the stool depth allows for at least 0.5 inches of apron reveal.
- Select your wood stock, ensuring it matches the casing material and species.
- Use a high-quality wood filler for any nail holes to ensure a smooth surface for paint.
- Apply a thin bead of paintable caulk where the apron meets the wall and the stool.
- Sand all edges to remove splinters and create a uniform profile.
Following this checklist ensures that you don’t miss the small details that differentiate a DIY project from a professional installation. Attention to the intersection points, such as where the apron meets the wall or the casing, is where the quality of the craftsmanship really shows.
Addressing Frequently Asked Questions
Should the apron be the same width as the side casings?
Yes, in most traditional and transitional designs, using an apron that matches the width of your side casings creates the most balanced and intentional look. It allows the window assembly to feel like a single, cohesive unit rather than a collection of separate boards.
What if my wall is uneven behind the apron?
Walls are rarely perfectly flat, which can cause gaps behind your apron board. You can use a scribe tool to trace the wall’s contour onto the back of the board and then plane or sand the wood to match that line, ensuring a tight, gap-free fit against the drywall.
Does the apron need to extend past the casing?
Extending the apron by 0.5 to 1 inch past the outer edge of the casing is a common design choice that provides a nice “stop” for the eye. If you prefer a modern, minimalist look, you can cut the apron flush with the outer edge of the casing, but this requires extreme precision during installation.
Can I use a different wood species for the apron?
If you are painting your trim, the wood species does not matter as long as the material is stable. If you are staining the wood, you should use the same species for the apron as you did for the casing to ensure the grain pattern and color absorption remain consistent.
How do I attach the apron to the wall?
Use finish nails long enough to penetrate through the drywall and into the wall studs or the window sill framing. Placing nails in pairs every 16 inches is usually sufficient to hold the apron securely, and you should always use wood glue on any joints where the apron meets the stool.
Final Considerations for Your Project
Selecting the right size window apron board balances with 3.5-inch casing trim by respecting the proportions of the assembly. When you maintain a 1:1 ratio between the width of the casing and the apron, you create a look that is both classic and visually stable. Remember that the apron is not just a decorative piece; it serves as the structural anchor for the window stool.
If you find yourself struggling with the visual weight, try using a slightly thicker piece of stock rather than a wider one. This adds depth to the window treatment without overwhelming the wall space.
Whether you are aiming for a rustic farmhouse aesthetic or a clean, modern look, sticking to these principles will ensure your home’s interior trim looks intentional and well-crafted for years to come. If you have further questions or need help with a specific window layout, feel free to reach out to local carpentry experts or visit a professional lumber yard to see these profiles in person.