3/4-Inch vs 1-Inch Stool Projection: Matching Profile to Baseboard Trim
Deciding between a 3/4-inch vs 1-inch stool projection is a critical detail that shapes the visual flow of your window trim and its intersection with surrounding baseboards. Most homeowners and contractors land on the 1-inch projection for a more substantial, traditional look, while a 3/4-inch projection offers a cleaner, more modern aesthetic that prevents the stool from feeling too bulky.
Matching these profiles to your baseboard trim requires precision, as the stool must sit flush against the wall or clear the casing without creating an awkward gap. Mastering the relationship between your window stool and your baseboard ensures your interior woodwork looks deliberate and professionally installed rather than like an afterthought.
The Primary Difference in Visual Weight
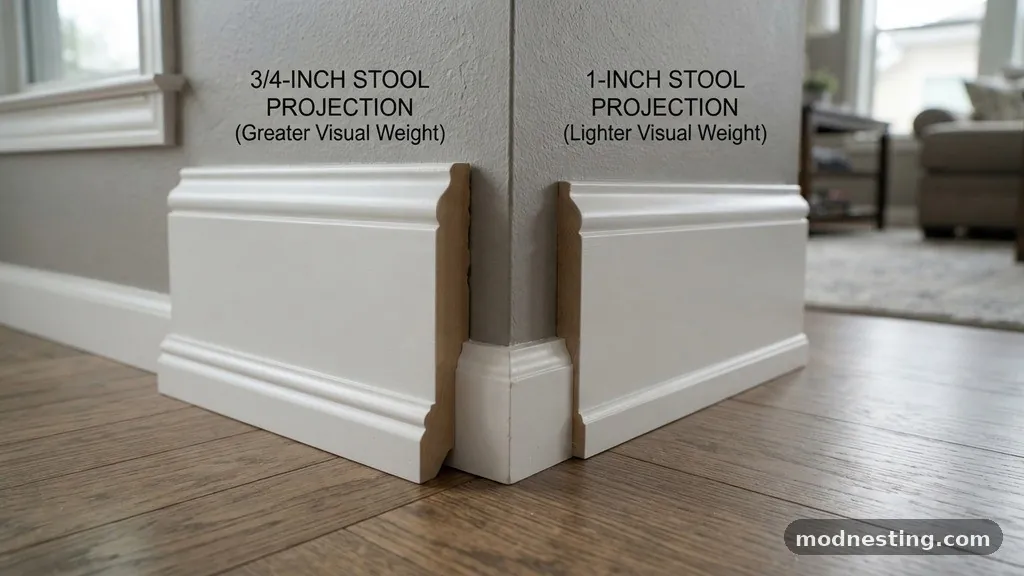
Choosing between a 3/4-inch vs 1-inch stool projection changes how a room perceives the depth of its windows. A 1-inch projection creates a more pronounced shadow line, which adds a sense of depth and architectural weight. This is particularly effective in rooms with high ceilings or traditional trim packages where you want the window to feel like a focal point.
In contrast, a 3/4-inch projection is often favored in minimalist or contemporary designs. It keeps the stool from jutting out too far, which can be beneficial in tight spaces where furniture might sit close to the wall. This shallower profile helps the stool integrate more smoothly with the window casing without drawing excessive attention to the sill itself.
Consider the surrounding wall texture when making your choice. If you have thick plaster walls or heavy textures, a 1-inch projection might be necessary to ensure the stool remains prominent enough to be useful. If you are working with smooth, modern drywall, the 3/4-inch profile often feels more balanced and less prone to catching on passing objects.
Integrating Stools with Baseboard Transitions
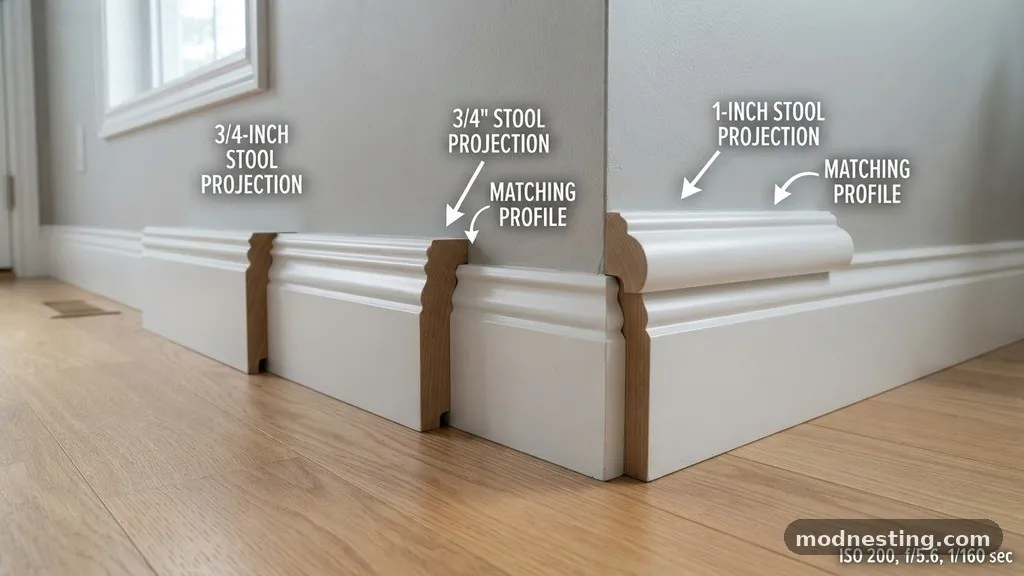
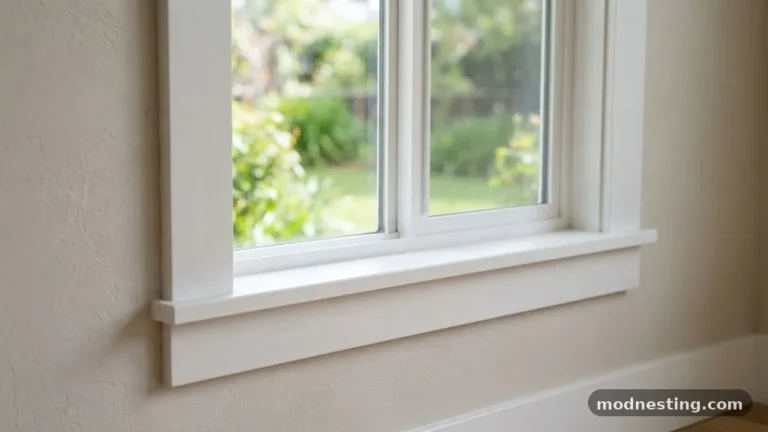
The interaction between your window stool and the baseboard trim is where most installation errors occur. The stool typically sits atop the window apron, which acts as a transition piece between the stool and the wall. If your baseboard is thicker than your stool projection, you will encounter a visual clash where the trim meets the window area.
Ideally, your stool should project far enough to overlap the baseboard or sit neatly above it without creating a disjointed corner. Many builders prefer to terminate the baseboard against the stool apron, creating a clean stop. If the stool does not project enough, the baseboard may look like it is colliding with the window frame rather than flowing underneath it.
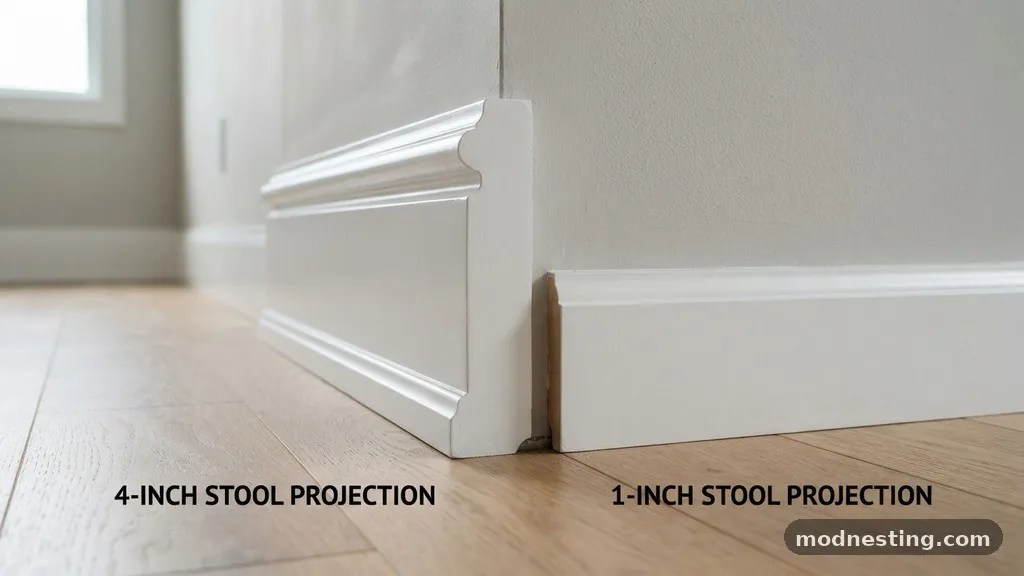
You should measure the thickness of your baseboard before finalizing your stool projection. If you have a standard 1/2-inch or 9/16-inch thick baseboard, a 3/4-inch stool projection provides a slight overhang that looks purposeful. If you are using a thicker, 3/4-inch baseboard, you might find that a 1-inch stool projection provides the necessary clearance to look proportional.
Technical Considerations for Window Jambs
The window jamb is the frame that holds the glass, and the stool is the interior horizontal ledge at the base. Your projection is measured from the face of the drywall to the outer edge of the stool. You must account for the thickness of the window casing, as the stool will often butt against this material.
If you choose a 1-inch projection, ensure the stool material is wide enough to accommodate the depth of the window sill plus the desired overhang. You may need to rip the board to size, which requires a table saw for a clean, straight edge. Always check for squareness before making your final cut, as window openings are rarely perfectly square.
When installing, remember that the stool serves as the base for the casing. You will typically install the stool first, then drop the side casings onto it. This creates a solid anchor point that improves the structural integrity of the entire window assembly.
Material Selection and Wood Movement
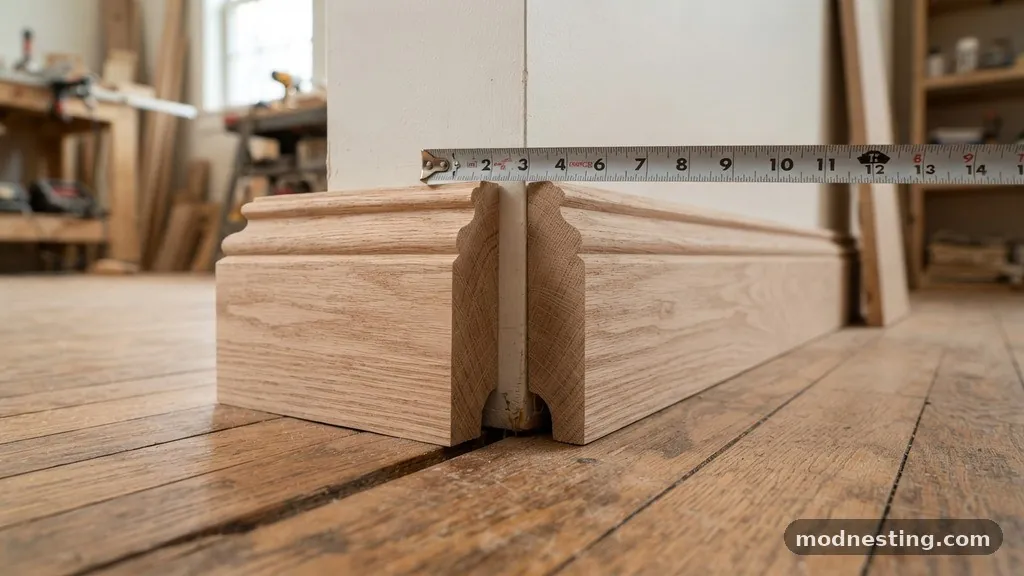
Whether you use pine, MDF, or hardwood, the material choice influences how you should approach your stool projection. Natural wood, such as oak or poplar, will expand and contract with humidity changes. A 1-inch projection in solid wood is more susceptible to slight warping than a 3/4-inch profile due to the increased surface area.
MDF is a popular choice because it is stable and cost-effective, making it easier to maintain consistent lines across an entire room. Because MDF does not expand significantly, you can be more aggressive with your dimensions without worrying about the stool bowing over time. However, MDF is softer and prone to dings if it is hit by heavy objects.
If you are painting your trim, MDF is usually the standard choice. If you are staining the wood, you will likely be using a premium species, which makes the precision of your cut even more important. You can find detailed technical guidance on wood movement and installation standards at the American Wood Council, which provides resources on structural wood design.
Matching Profiles to Baseboard Styles
Your stool profile should ideally echo the design language of your baseboard. If you have an ornate, traditional baseboard with multiple curves and steps, a simple square-edge stool will look out of place. You might want to consider a bullnose or a decorative edge profile for your stool to match the baseboard’s complexity.
Modern homes often use square-edge baseboards, which pair perfectly with a 3/4-inch, flat-edge stool. This combination creates a linear, clean look that emphasizes the geometry of the room. Consistency is the goal; if every horizontal surface in the room shares a similar profile, the space will feel cohesive.
Think about the transition where the stool meets the wall. A small piece of cove molding under the stool can hide minor gaps and add a layer of detail that bridges the gap between the stool and the apron. This approach works well regardless of whether you choose a 3/4-inch or 1-inch projection.
Measuring and Cutting for a Perfect Fit
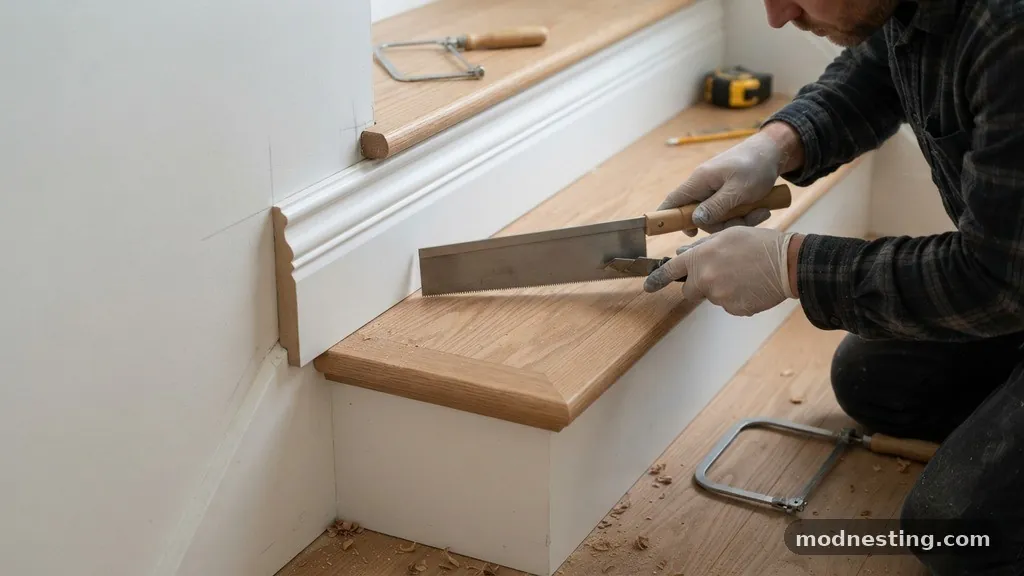
Achieving a professional finish requires accurate measuring of the window opening. You should measure from the inside of the left casing to the inside of the right casing, then add the width of the horns that will extend past the casing. These horns are the extensions that give the stool its traditional look.
When cutting the stool, use a miter saw for the ends and a jigsaw or scroll saw for the notches that fit around the casing. Take your time with the scribe, as a tight fit against the drywall is essential for a high-end look. If you have a slight gap, a high-quality wood filler or caulk can hide it, but it should not be your primary tool for fixing poor cuts.
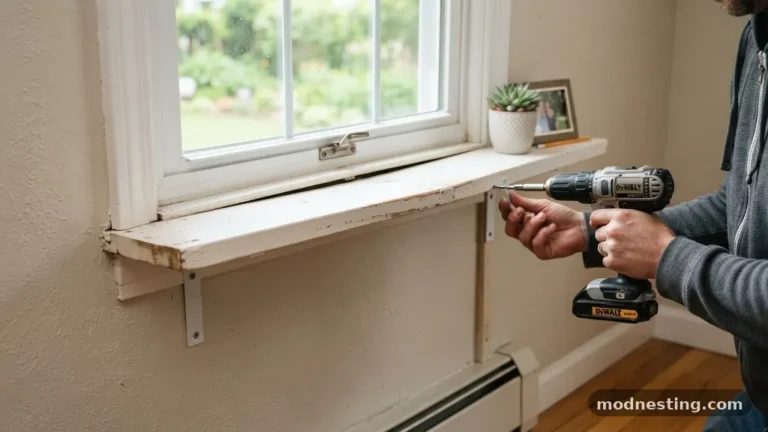
Test-fit the stool before applying any adhesive or nails. Check that the projection is consistent across the entire length of the window. If the window is slightly out of level, you may need to shim the stool to ensure it sits perfectly horizontal before securing it with finish nails.
Installation Best Practices
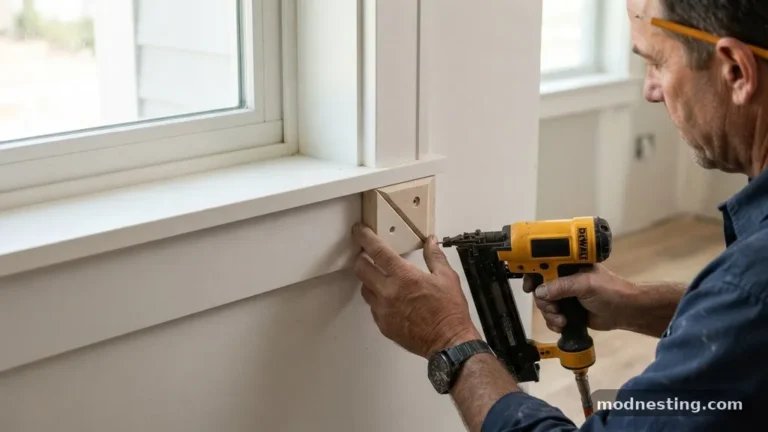
Always use a high-quality wood glue or construction adhesive in addition to finish nails. This prevents the stool from squeaking or pulling away from the jamb over time. Use 16-gauge or 18-gauge finish nails, depending on the thickness of the material, and ensure they are long enough to penetrate the framing behind the drywall.
Countersink your nails and fill the holes with a matching wood filler before painting or staining. If you are installing in a high-traffic area, consider adding a small support bracket or cleat underneath the stool for extra stability. This is especially important for wider windows where the stool might be used to hold plants or other items.
Check the alignment of your apron piece carefully. It should be centered under the stool and securely nailed into the studs. If the apron is not level, the entire window assembly will look skewed to the eye, even if the stool itself is perfectly flat.
Comparison of Design Impact
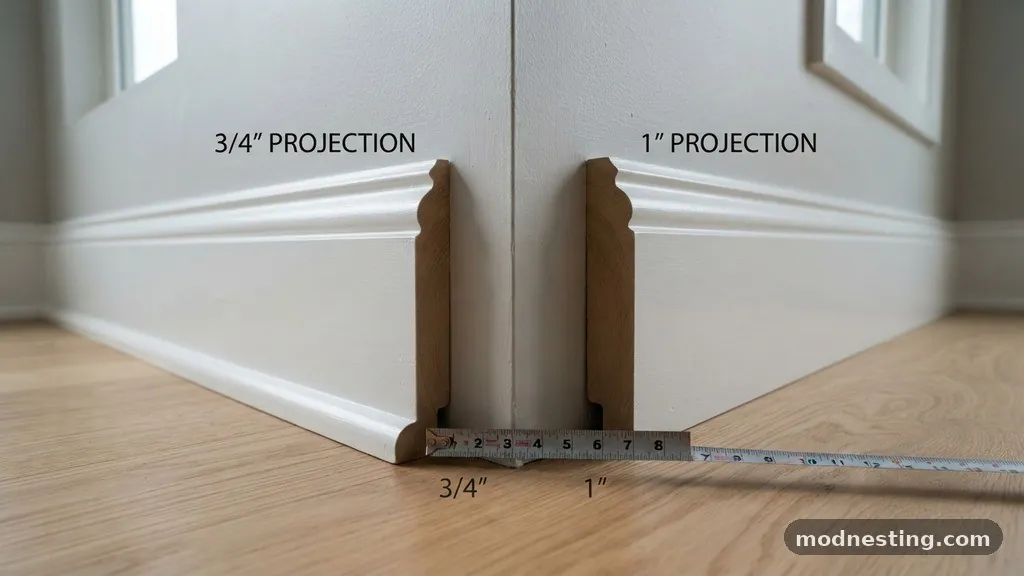
The following table summarizes how these two common projections affect the room’s overall aesthetic and functional requirements.
| Feature | 3/4-Inch Projection | 1-Inch Projection |
|---|---|---|
| Visual Weight | Light, minimal | Heavy, traditional |
| Room Suitability | Tight spaces, modern | Spacious, traditional |
| Shadow Line | Subtle | Prominent |
| Furniture Clearance | High | Moderate |
Common Pitfalls to Avoid
One of the most frequent mistakes is failing to account for the thickness of the paint or finish. If you measure perfectly but add three coats of thick oil-based paint, your stool may no longer sit flush against the casing. Always account for finish thickness when planning your tight-fitting joints.
Another error is ignoring the wall’s condition. If your walls have a heavy texture, the stool might be difficult to scribe, leading to large gaps that require excessive amounts of caulk. Sanding the wall area where the stool meets the drywall can help you achieve a tighter, cleaner fit.
Don’t neglect the side horns of the stool. While the projection is crucial, the length of these horns should also be consistent across all windows in a room. A variance of even 1/8-inch in horn length will be immediately noticeable to the human eye, detracting from the professional appearance of the installation.
Troubleshooting Common Installation Issues
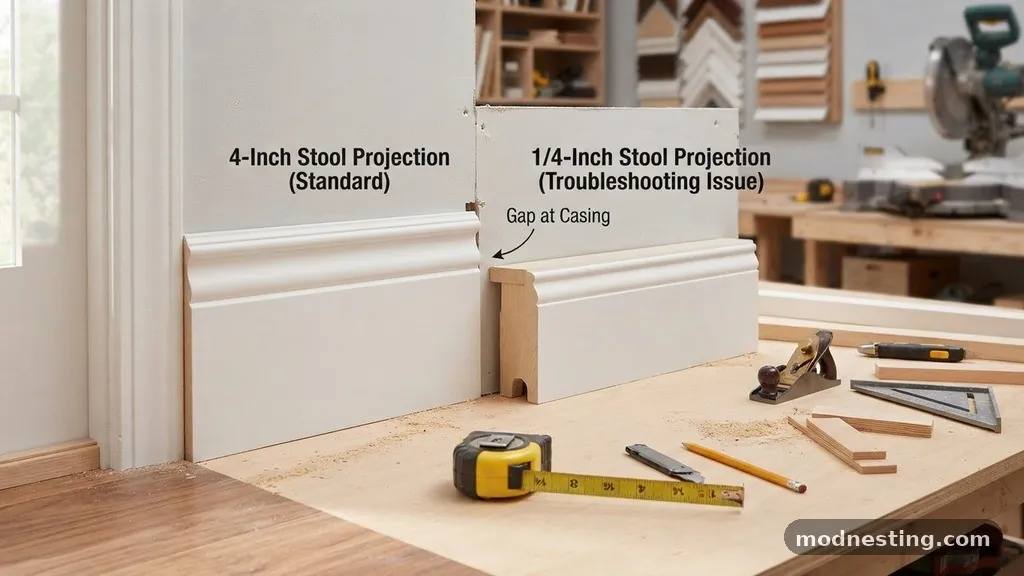
If you find that your stool is slightly lower than the casing, you will need to shim it up before nailing it into place. Never try to force the casing down to meet the stool, as this will distort the window frame and potentially cause the sash to bind. Use thin wood shims and trim them flush once the adhesive has set.
If the stool is not wide enough to cover the gap between the window and the wall, you may need to adjust your approach. You can add a small piece of trim or a wider apron to bridge the gap, but this is a secondary solution. Ideally, you should select the right width of lumber from the start to avoid these complications.
If your stool moves after installation, it is likely due to insufficient nailing or lack of glue. You can often fix this by adding a few additional nails into the studs or by using a strong construction adhesive under the stool. Ensure you are using the right nail length; a nail that is too short will not provide the necessary grip in the wall framing.
Frequently Asked Questions
Does a 1-inch projection require a thicker apron?
A 1-inch projection does not strictly require a thicker apron, but it often looks more proportional if the apron has some depth. A standard 1/2-inch thick apron usually works well, but you can use a 3/4-inch thick apron if you want the window trim to look more substantial and heavy-duty.
How do I handle the stool if my baseboard is thicker than 1 inch?
If your baseboard is very thick, you may need to build out the window apron or use a decorative block at the corner where the baseboard meets the window. This allows the baseboard to terminate cleanly against a vertical surface rather than trying to butt directly into the stool.
Is it better to use a bullnose or square edge for the stool?
The choice between a bullnose and a square edge depends on your home’s style. A bullnose edge is softer and safer, making it a great choice for homes with children, while a square edge offers a crisp, modern line that is easier to clean and maintain in a contemporary space.
Can I install a stool without an apron?
You can install a stool without an apron for a very modern, floating look, but this requires the stool to be securely fastened to the studs since it won’t have the apron for additional support. This method is common in minimalist architecture but requires high-quality craftsmanship to look intentional.
What is the standard height for a window stool from the floor?
There is no universal standard for the height of a window stool, as it depends on the window placement and the overall design of your home. However, most stools are installed at a height that aligns with the top of the casing or at a comfortable level for someone looking out of the window while standing.
Professional Results with Proper Planning
Selecting between a 3/4-inch vs 1-inch stool projection is a matter of balancing your home’s architectural style with your personal preference for visual weight. A 1-inch projection provides a classic, grounded feel that works beautifully in traditional settings, while the 3/4-inch option offers a sleek, unobtrusive profile that excels in modern spaces. By carefully measuring your window jambs, considering the thickness of your baseboard, and ensuring a precise installation, you create a seamless transition that enhances the entire room.
Take the time to dry-fit your components, use quality adhesives, and verify your levels before finalizing the work. With these details addressed, your window trim will stand as a clear indicator of a thoughtful, well-executed home improvement project.