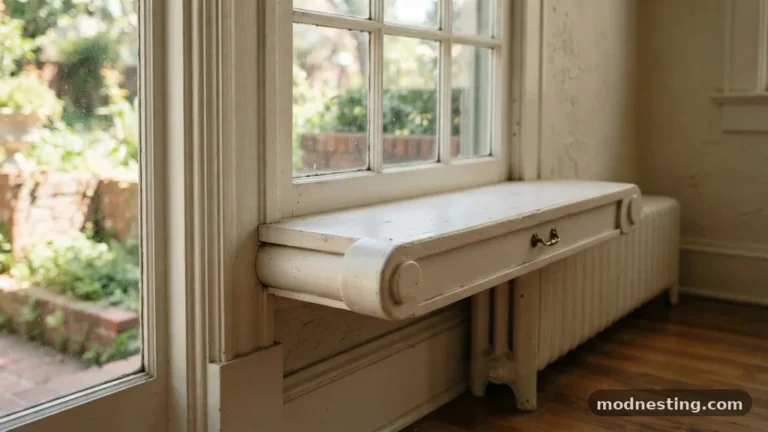
Window Sill Drooping: How to Support a Deep 6-Inch Stool with Small Brackets
Window sill drooping often happens when a homeowner extends the interior window stool to create a deeper shelf without adding proper structural support. A 6-inch deep stool creates significant leverage, causing the wood to sag or pull away from the window casing over time. Addressing this issue requires more than just aesthetics; it demands a functional approach to weight distribution.
By using small, strategically placed brackets, you can restore the structural integrity of your window finish while maintaining a clean, professional look. This article explains exactly how to install these supports, ensuring your extended sill remains stable and level for years to come.
Immediate Fixes for Sill Sagging
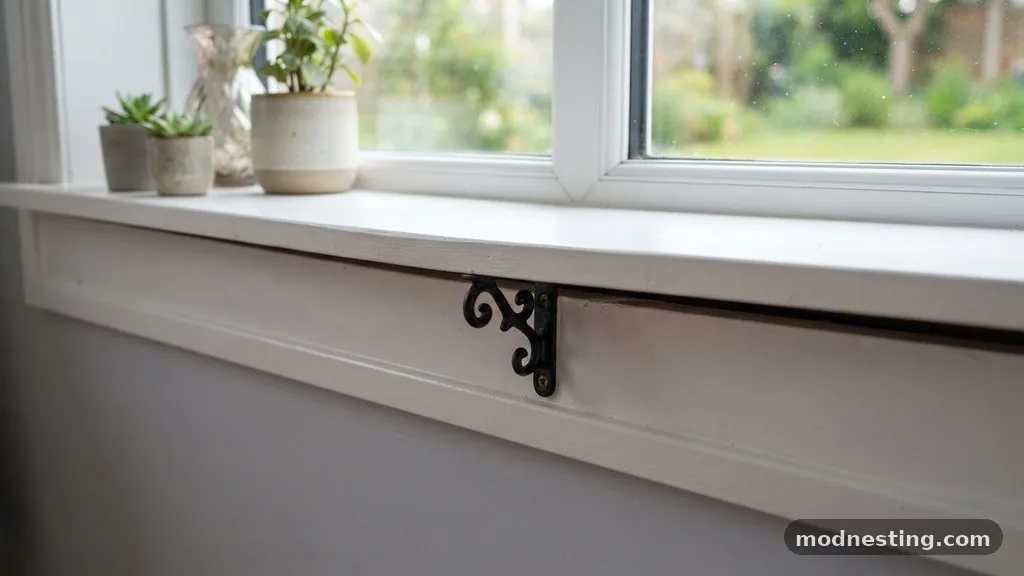
If you notice your window stool pulling away from the wall, the first step is to stop the movement before it causes cracks in the surrounding drywall. A 6-inch overhang acts like a cantilever, putting immense pressure on the finish nails holding the stool to the apron.
You should immediately check if the stool is still level using a high-quality bubble level. If it has dipped, you will need to gently pry it back into place before installing any secondary support.
Do not rely on the existing finish nails to hold the weight of heavy plants or decor once the wood has begun to droop. These nails are typically designed to hold the trim in place, not to carry a load.
You must install a support system that transfers the weight directly to the wall studs or the framing beneath the window. Adding a bracket, even a small one, changes the physics of the installation by moving the fulcrum point further out toward the front edge of the stool.
Choosing the Right Bracket Size
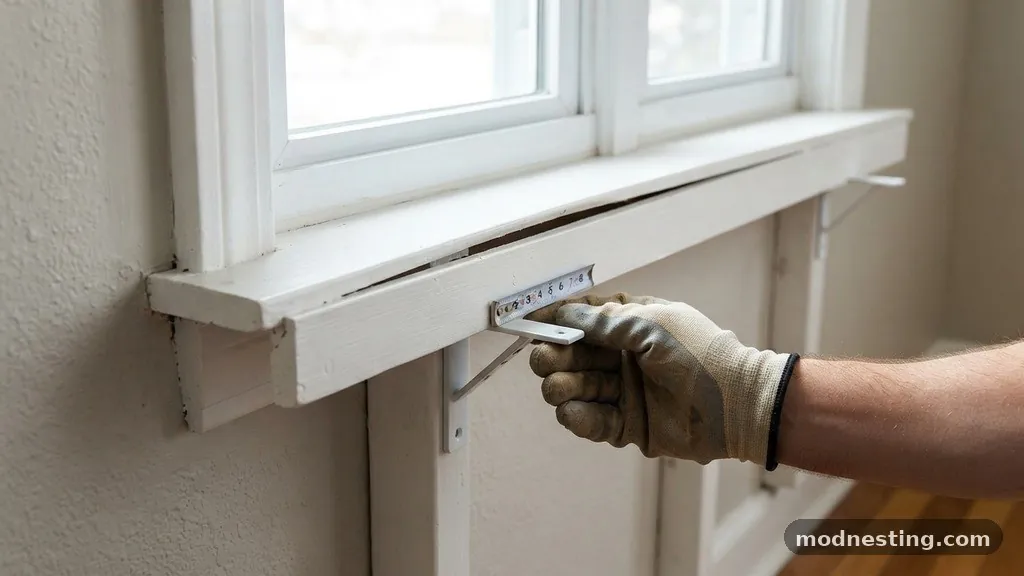
When dealing with a 6-inch deep stool, you do not necessarily need massive, industrial-sized supports. Small, decorative brackets often provide sufficient load-bearing capacity if they are spaced correctly across the length of the window.
Look for brackets that measure approximately 4 to 5 inches in depth, which allows them to support most of the stool’s extension without looking overly bulky. You can find high-quality hardware resources for specific load calculations at the International Association of Certified Home Inspectors to ensure your choices meet standard building safety practices.
Consider the material of the bracket when making your selection. Cast iron or heavy-duty steel brackets offer the most strength for their size, whereas thin, stamped metal options may flex under the weight of heavy objects.
If you prefer a hidden look, you might opt for small, low-profile steel L-brackets that can be painted to match the wall color. Always ensure the bracket has enough surface area on the wall-side to allow for at least two mounting screws.
Locating Wall Studs for Maximum Strength
Your bracket is only as strong as the surface it is mounted to, which makes stud location critical. Drywall alone cannot support the weight of a deep, loaded shelf, especially when that weight is being applied to a cantilevered edge.
Use a reliable stud finder to locate the vertical framing members beneath your window. If your window is wide, you might find that your preferred bracket placement does not align perfectly with the studs.
If you cannot align your brackets with the studs, you must use high-quality toggle bolts instead of standard plastic drywall anchors. Toggle bolts spread the load over a larger area behind the wall surface, providing a much higher pull-out resistance.
When drilling into the wall, always use a drill bit that matches the size requirements of your toggle bolt hardware. Once the bolt is inserted, tighten it until the bracket is held firmly against the wall, but avoid overtightening, which can crush the drywall.
Installing the Brackets Correctly
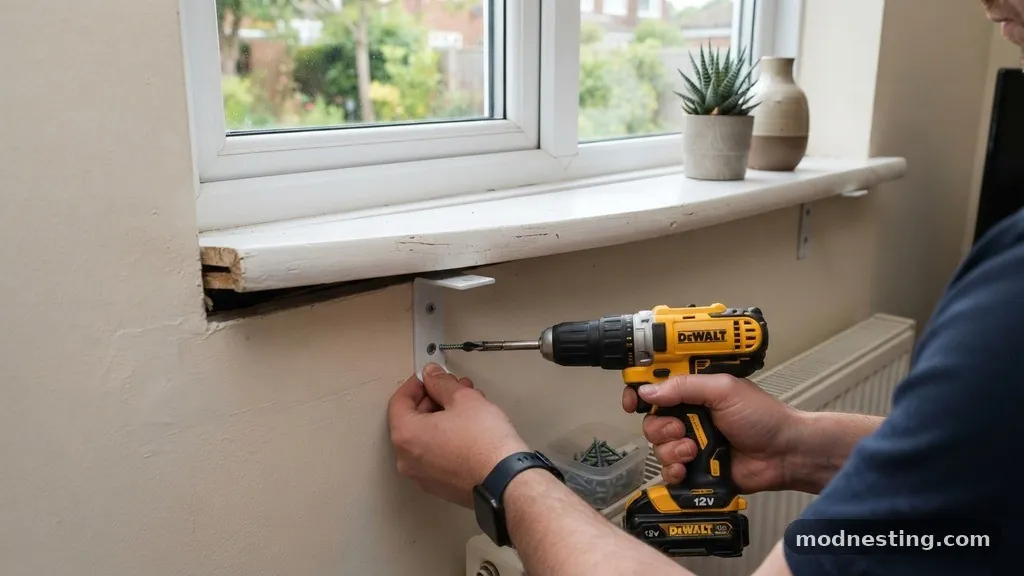
Preparation is the key to a professional-looking installation. Start by marking the exact height where the bracket will sit, ensuring it is perfectly aligned with the bottom of the stool.
If you are installing multiple brackets, use a long level or a laser level to ensure they are all at the exact same elevation. A crooked bracket will be immediately noticeable once the stool is resting on it.
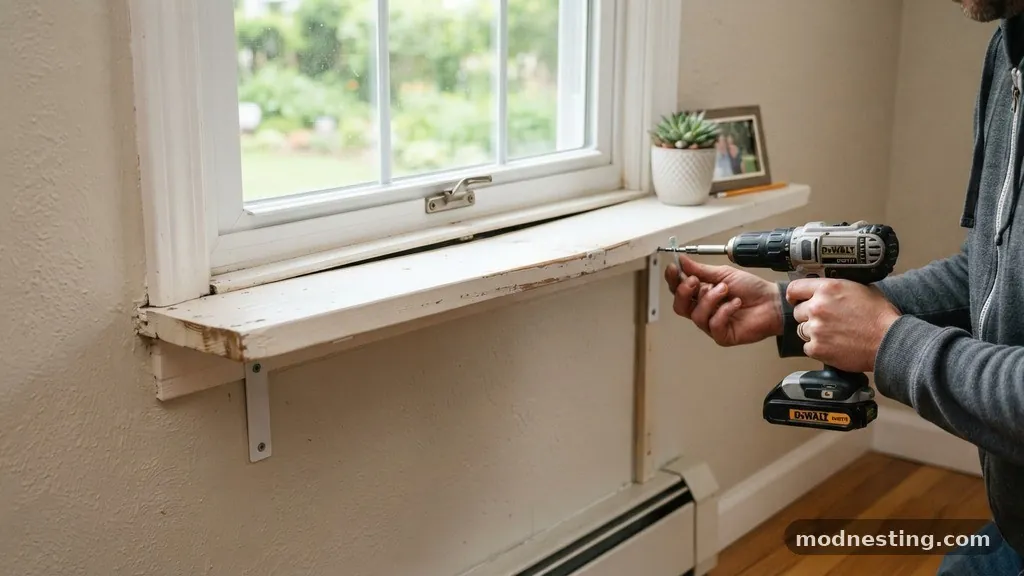
Drill pilot holes for your mounting screws to prevent the wood or wall surface from splitting. If you are driving screws into a stud, ensure they are long enough to penetrate at least 1.5 inches into the solid wood.
If you are attaching the bracket to the stool itself, use shorter screws to avoid punching through the top surface of the finish. Always check the bracket level one final time after driving the first screw, as it is still possible to make minor adjustments before fully tightening the hardware.
Managing Sill Overhang and Leverage
The depth of your window stool creates a specific mechanical challenge known as leverage. Every inch of extension beyond the window frame increases the torque placed on the connection at the wall.
A 6-inch stool is significantly more prone to sagging than a standard 3-inch sill because the weight of objects placed on the outer edge is multiplied by the distance from the wall. You must counteract this by placing your supports at intervals that account for the total span of the window.
A good rule of thumb is to place a bracket no more than 16 inches apart from the next one, assuming you are using standard wood construction. If your stool is made of a softer wood like pine, you may want to increase the frequency of your brackets to prevent the wood from bowing between supports.
If you use a denser material like oak or hardwood, you can get away with slightly wider spacing. Always prioritize support near the ends of the stool, as these areas are the most likely to experience sagging due to lack of connection to the framing.
Tools Required for the Job
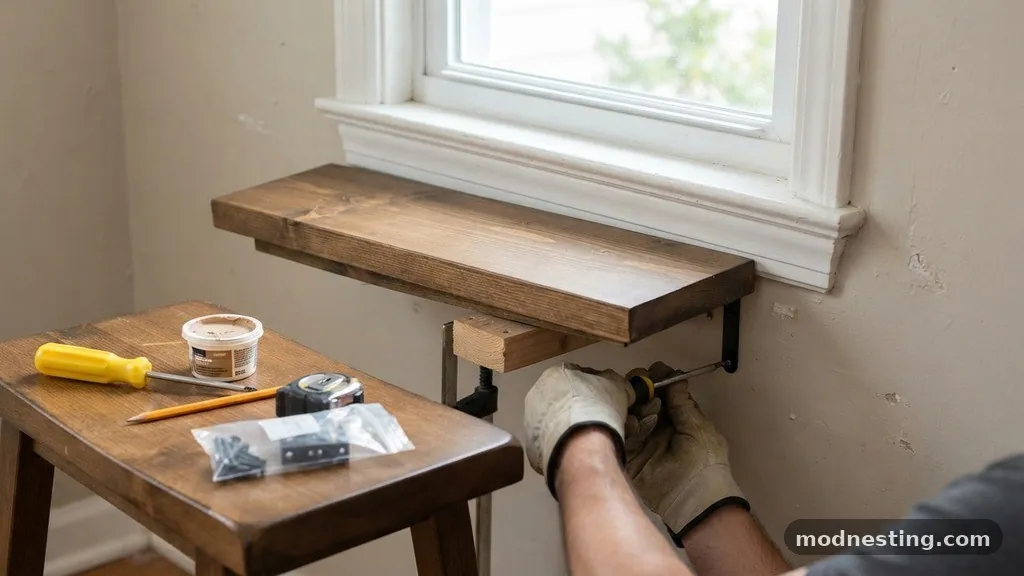
Before starting your project, gather the necessary tools to ensure the process goes smoothly. Having everything on hand prevents you from leaving the task half-finished while you hunt for a specific driver or measurement tool. You will need a variety of hardware bits to handle both wood and drywall applications.
| Tool | Purpose |
|---|---|
| Stud Finder | Locating structural framing behind drywall |
| Bubble Level | Ensuring horizontal alignment of the stool |
| Measuring Tape | Calculating spacing for bracket placement |
| Power Drill | Driving screws and drilling pilot holes |
| Miter Saw | Trimming brackets or custom wood fillers |
Addressing Gaps with Wood Filler
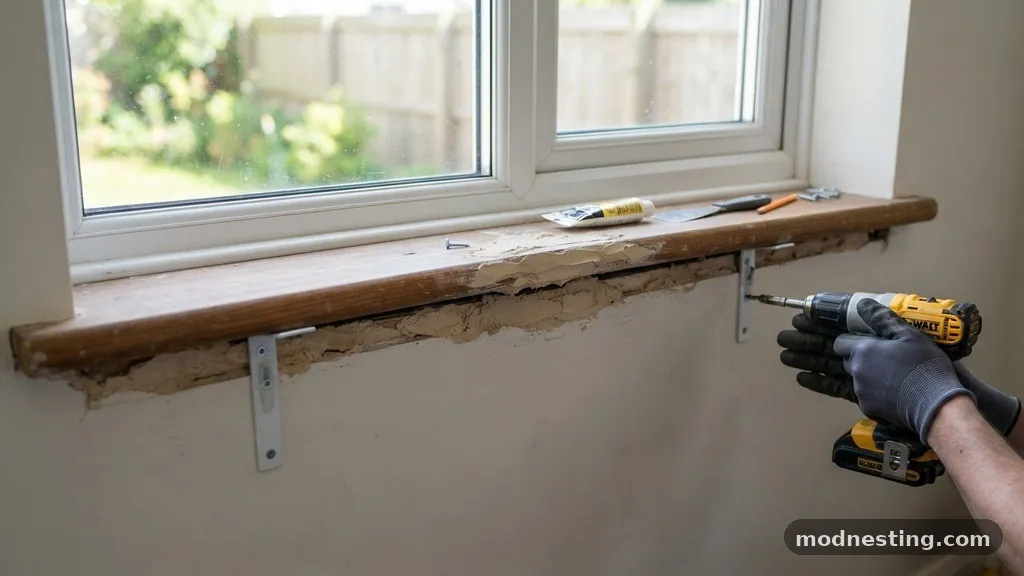
Once the brackets are installed and the stool is level, you may notice small gaps between the stool and the window casing. These gaps are common in older homes where walls are rarely perfectly square or plumb.
Use a high-quality wood filler to bridge the gap if it is small, or consider using a flexible paintable caulk if the gap is larger than an eighth of an inch. Caulk is often better for this application because it allows for the natural expansion and contraction of the wood through the seasons.
If you choose to use wood filler, apply it carefully with a putty knife and smooth it out before it dries. Once cured, sand the area lightly with fine-grit sandpaper to blend it into the surrounding trim.
If you are staining the wood, make sure to test the filler on a scrap piece first to ensure it matches your wood stain color. If you are painting the trim, you can simply prime and paint over the filler for a seamless, factory-finish look.
Enhancing the Finish with Molding
Sometimes a bracket alone isn’t enough to hide the transition between the wall and the deep stool. Adding a piece of decorative wood trim or a small profile molding can help bridge the gap and add a level of sophistication to the window finish.
This molding can also help conceal the top of the bracket if you choose a design that wraps around the support. It is a common technique in finish carpentry to create a transition that looks intentional rather than like an afterthought.
When choosing trim, consider the existing window casing design. If your home has traditional, heavy casing, choose a molding that complements that style. If your home is modern, a simple, clean, square-profile trim will work best.
Secure this molding with finish nails or a high-quality construction adhesive, ensuring that it is pinned into the stool and the wall studs wherever possible. This addition not only improves the look but also provides a tiny bit of extra lateral stability to the entire structure.
Common Mistakes to Avoid
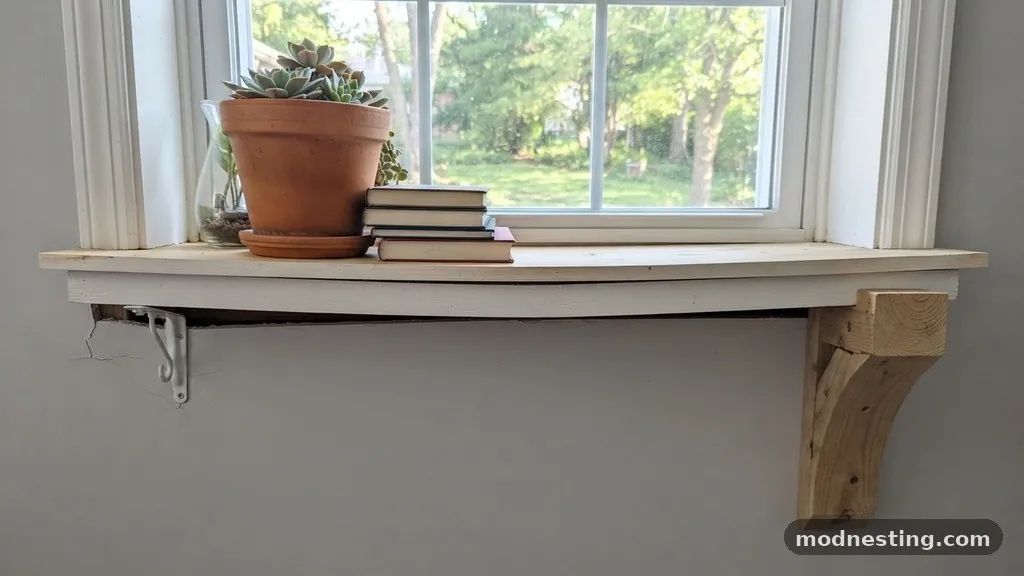
Many DIYers make the mistake of using only adhesive to hold up a deep window stool. While construction adhesive is incredibly strong, it is not designed to handle the dynamic loads of heavy objects or the constant pressure of a cantilevered shelf over several years. Always use mechanical fasteners like screws or bolts as your primary support, with adhesive serving only as a secondary bonding agent.
Another frequent error is failing to account for the weight of the objects you intend to display. If you plan on placing heavy terra cotta pots or a collection of books on your 6-inch stool, you must use heavy-duty brackets.
Standard, light-duty decorative brackets are often made of cast aluminum or thin plastic and will eventually bend or snap under concentrated weight. Always check the load rating provided by the manufacturer before purchasing your hardware.
Essential Maintenance and Care
Once you have secured your window stool, perform a quick check every six months to ensure everything remains tight. Temperature fluctuations can cause wood to expand and contract, which can occasionally loosen the screws holding your brackets.
A quick turn with a screwdriver is usually all that is needed to keep the installation rock-solid. If you notice any signs of moisture damage near the window, address that immediately, as wet wood loses its structural integrity and will sag regardless of how many brackets you install.
Keep your wood finish in good condition by applying a fresh coat of polyurethane or wax every few years. This protects the wood from UV damage and moisture, keeping it from becoming brittle or warping.
If you notice the wood beginning to bow despite the brackets, it may be time to add an additional support in the center of the span. Proactive maintenance ensures your window finish remains a beautiful and functional part of your home for years to come.
Frequently Asked Questions
How do I know if my bracket is strong enough for my window stool?
Look for the load-bearing rating on the bracket packaging, which is usually provided in pounds. If your stool is 6 inches deep, assume that any heavy object placed on the outer edge will exert more force than its actual weight due to the leverage. Choose a bracket rated for at least double the weight you intend to place on the shelf to ensure a high safety margin.
Can I use construction adhesive instead of screws?
No, adhesive should only be used as a supplement to mechanical fasteners. Over time, heat and humidity changes will weaken the bond of most adhesives, leading to potential failure. Screws or bolts provide the necessary structural connection to the wall studs that adhesive simply cannot match.
How far apart should I space my brackets?
For a standard 6-inch deep stool, placing brackets every 16 inches is ideal, as this usually aligns with the spacing of wall studs. If you cannot hit every stud, you can space them up to 24 inches apart provided you are using high-quality toggle bolts. Never exceed 24 inches for a shelf that supports significant weight.
Is it possible to hide the brackets completely?
Yes, you can use hidden shelf supports, also known as floating shelf brackets, that slide into the back of the stool. However, these require a thicker stool and precise drilling, which can be difficult for a pre-installed window sill. Small L-brackets painted the same color as the wall are the most common and effective way to achieve a clean look.
What should I do if the wall is not perfectly flat?
If the wall behind the stool has a slight bow, you can use a shim between the bracket and the wall to ensure the bracket remains perfectly vertical. A shim is a thin piece of wood or plastic that fills the gap, allowing you to tighten the screw without bending the bracket. Once installed, you can paint or caulk the shim to make it invisible.
Final Thoughts on Window Sill Stability
Correcting window sill drooping is a manageable project that yields immediate, visible results in the quality of your home’s interior finish. By properly supporting that 6-inch extension, you eliminate the risk of future damage to your drywall and ensure your window area remains a safe, stable place for your decor. Always prioritize finding the studs and using appropriate mechanical fasteners to ensure your brackets do their job correctly.
Taking the time to measure, level, and secure each support point will make a significant difference in the final outcome. Whether you choose decorative iron or low-profile steel, your attention to structural detail will be well worth the effort.
Once you have finished the installation, you can enjoy the added space and peace of mind that comes with a perfectly stable window stool. Reach out to a local hardware professional if you encounter any specific framing challenges during your installation.