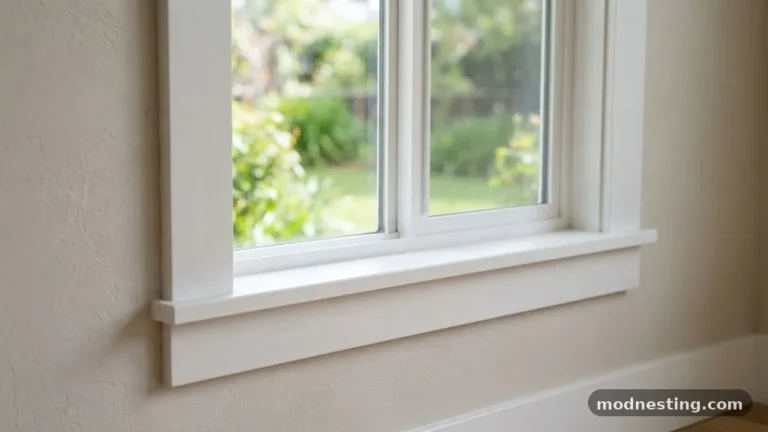
How to Angle or Return the Ends of an Apron Trim Board Neatly
Mastering the process of angling or return the ends of an apron trim board neatly is a fundamental skill for any homeowner or carpenter looking to achieve a professional finish. Whether you are working on a window sill or a decorative wall feature, these small details prevent awkward, unfinished edges from detracting from your home’s aesthetic.
You will gain a clear understanding of the tools required, the geometric principles behind clean cuts, and the specific installation techniques that ensure your trim remains secure and visually appealing for years to come. By focusing on precision and proper material handling, you can elevate the look of any room through simple, effective carpentry techniques.
Understanding the Mechanics of Trim Returns
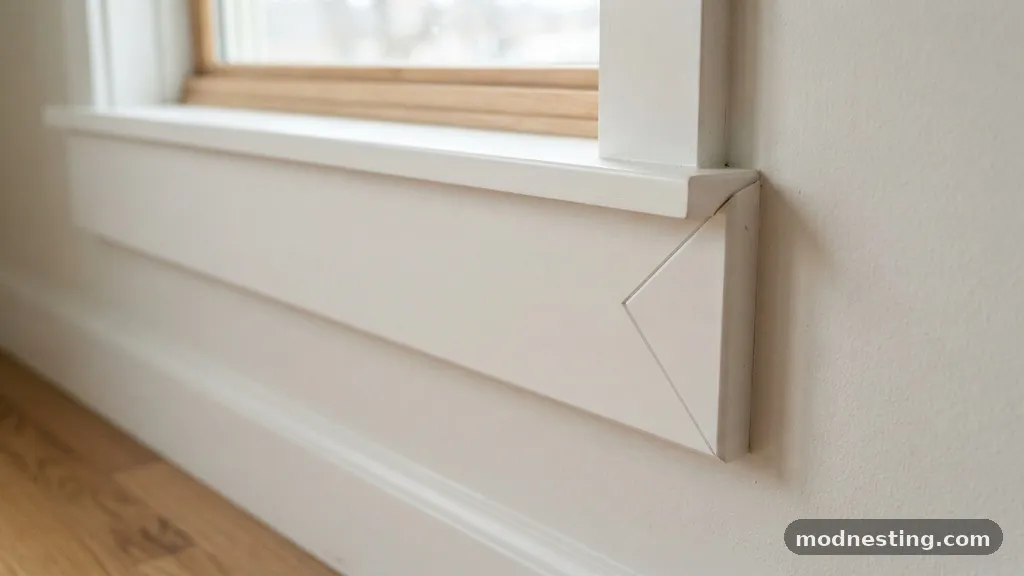
A return block is the most common solution for finishing the end of a piece of trim that stops abruptly on a wall. Instead of leaving the exposed end grain of the wood visible, you cut a small piece of matching trim to cap it. This creates a clean, intentional look that makes the installation appear as though it were part of a larger, custom-built structure.
The process requires a high level of precision because you are essentially creating a miniature miter joint. You must cut the end of your main apron board at a 45-degree angle.
Then, you cut a small matching 45-degree angle on a scrap piece of the same profile. When joined together, these pieces form a 90-degree turn that hides the raw, porous end grain of the wood completely.
Selecting the Right Tools for Precision
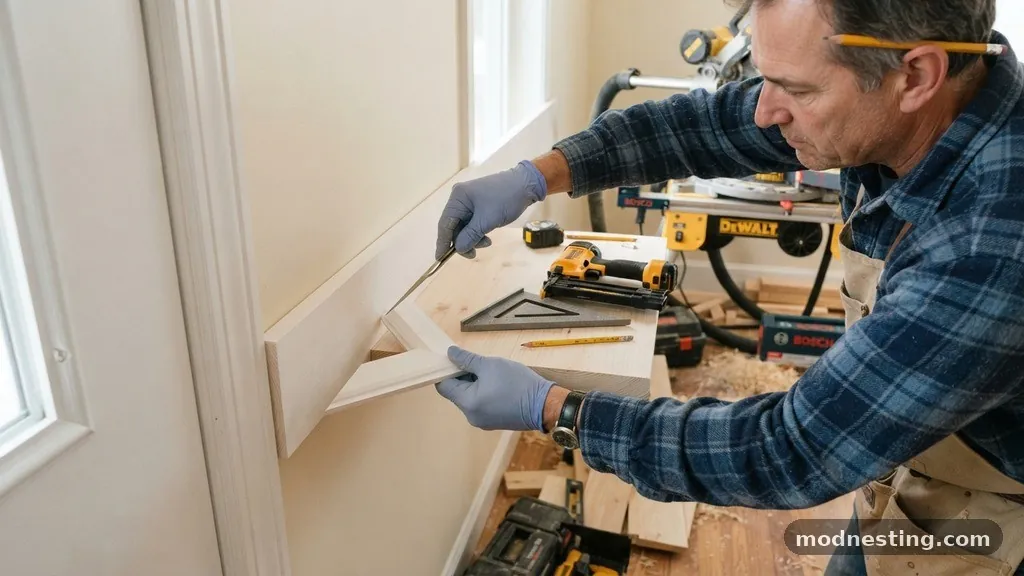
Precision begins with the quality of your equipment. A high-quality miter saw is the industry standard for this task because it offers the consistency needed for repetitive angle cuts. If you are working with solid wood trim, ensure your saw blade has a high tooth count to minimize splintering and tear-out along the cut line.
You will also need a few essential hand tools to fine-tune your work. A sharp tape measure is vital for marking your lengths, while a combination square helps ensure your lines are perfectly perpendicular to the base of the board.
A pencil scribe can be used to transfer profiles if your wall is slightly out of plumb, which is common in older homes. Finally, keep a sanding block nearby to smooth the cut edges before you apply any finish or wood filler.
Measuring and Marking Your Apron Board
Accurate measurement is the foundation of every successful trim project. Start by measuring the distance between your window casing or the specific area where the apron will sit. If you are planning a return, remember to add the thickness of the trim profile to your total length measurement.
Always account for the width of the blade, often referred to as the kerf, when you are marking your cuts. If you mark exactly at your measurement line and cut on the wrong side of it, your board will end up slightly too short. It is safer to make your mark, then clearly indicate with a V-shape which side of the line the blade should fall on.
Executing the Bevel and Miter Cuts
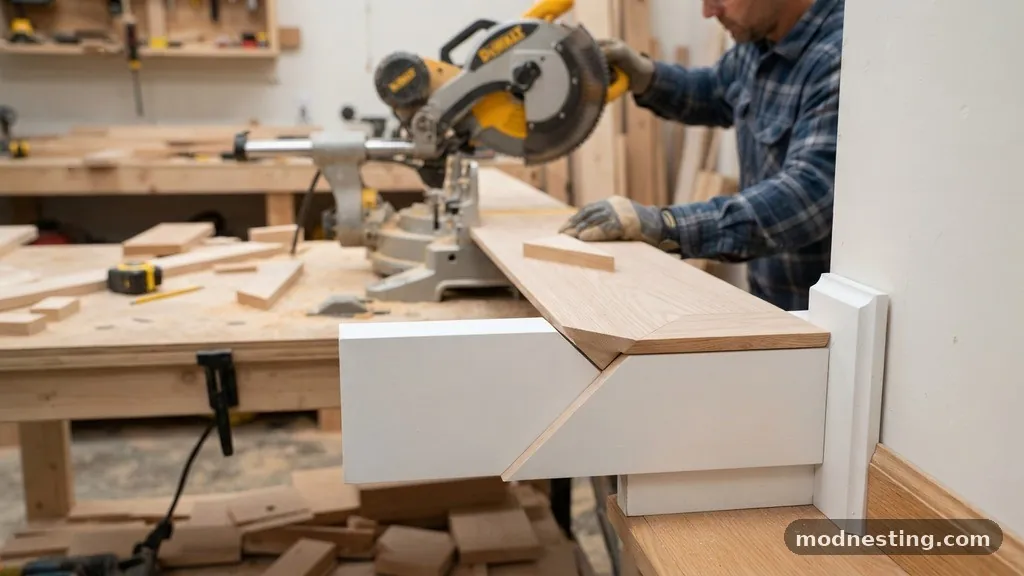
When you are ready to cut, set your miter saw to exactly 45 degrees. Place the trim face up or against the fence depending on the profile. For complex crown or baseboard moldings, nesting the trim against the fence is often the most stable method for achieving a perfect angle.
If you are angling or return the ends of an apron trim board neatly, you must hold the material firmly against the fence to prevent any movement during the cut. Even a slight shift caused by the vibration of the motor can ruin the alignment of your miter. If you find your saw is struggling, check the depth stop to ensure you are clearing the entire thickness of the board in one smooth motion.
Assembling the Return Block
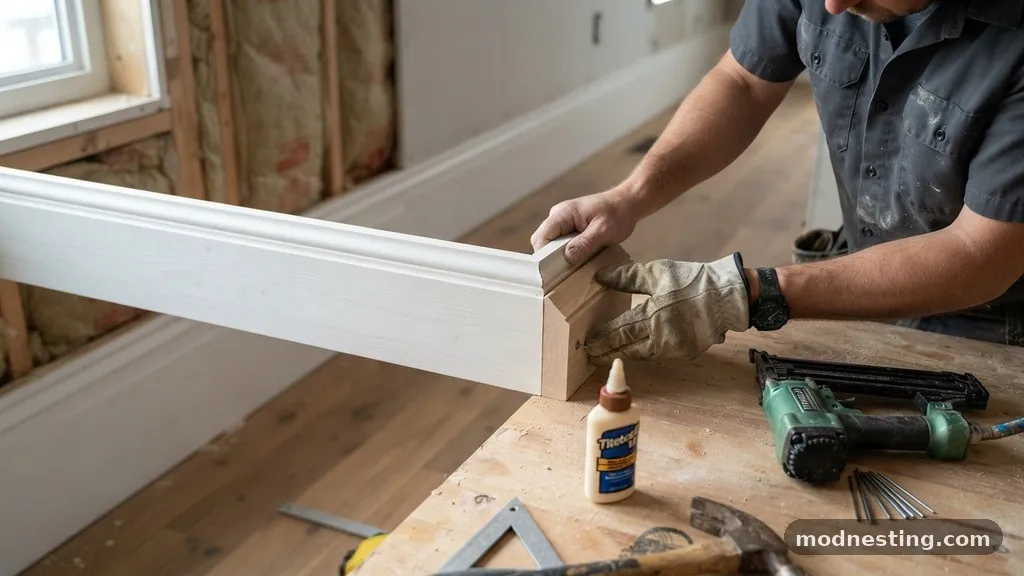
Once your pieces are cut, the assembly process determines the longevity of the joint. Apply a thin, even layer of wood glue to the mating surfaces of the miter. You do not need an excessive amount; too much glue will squeeze out and create a mess that is difficult to sand away later.
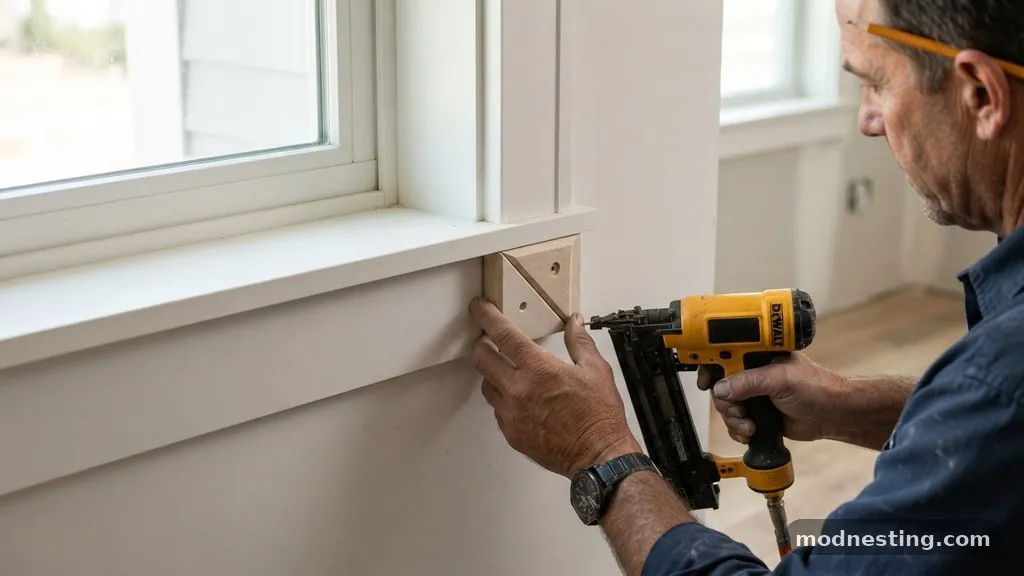
Use a brad nailer to secure the return block to the end of the main apron board. Before firing the nail, ensure the faces of the two pieces are perfectly flush.
If they are slightly offset, use a small clamp to hold them in position while you drive the nails. This step is critical because once the glue sets, adjusting the alignment becomes nearly impossible without damaging the wood.
Managing Grain Direction and Material Expansion
Solid wood trim is a living material that reacts to changes in humidity. When you attach a return block, you are joining two pieces of wood with different grain directions. The main apron board will expand and contract along its length, while the return block will move across its width.
To mitigate stress at the joint, avoid using excessive amounts of glue or mechanical fasteners that might restrict this natural movement. A small amount of wood glue is usually sufficient, but avoid using heavy-duty construction adhesive that could cause the wood to split as it seasons. If you are working with wide pieces, consider using a pocket hole or a biscuit joint to provide extra structural support without relying solely on the glue bond.
Filling Gaps and Achieving a Seamless Look
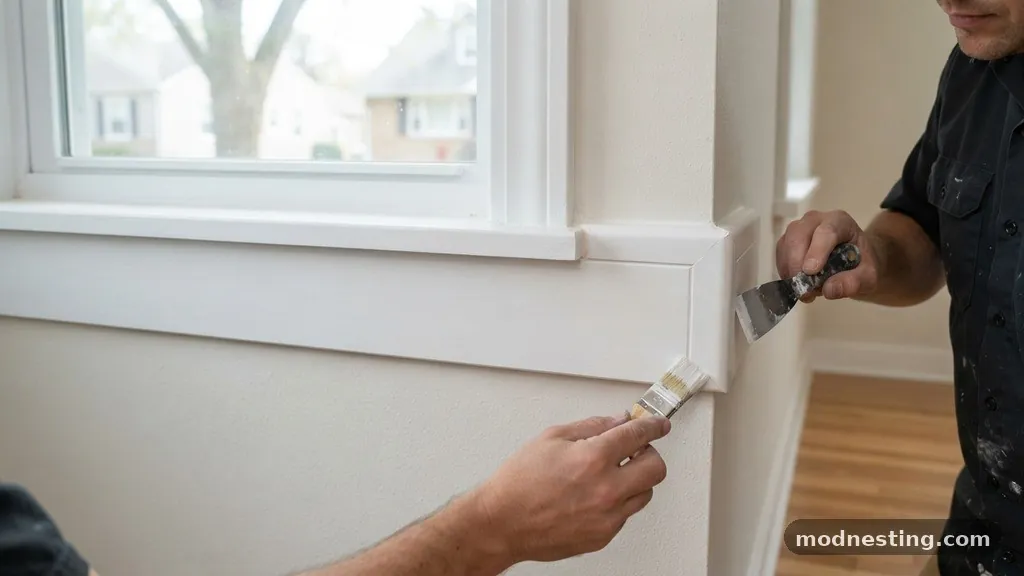
Even with the most precise cuts, small gaps are sometimes inevitable due to the nature of wood or minor imperfections in the wall surface. This is where high-quality wood filler becomes your best friend. Choose a filler that is stainable if you plan to finish the wood with a transparent stain, or use a paintable version if you are painting the trim.
Apply the filler sparingly using a putty knife, pressing it deep into the joint. Once it dries, use a fine-grit sanding block to level the surface.
If you are dealing with a larger gap between the trim and the wall, use a bead of painter’s caulk. This flexible material will bridge the gap and prevent cracks from appearing when the house settles over time.
Common Problems in Trim Carpentry
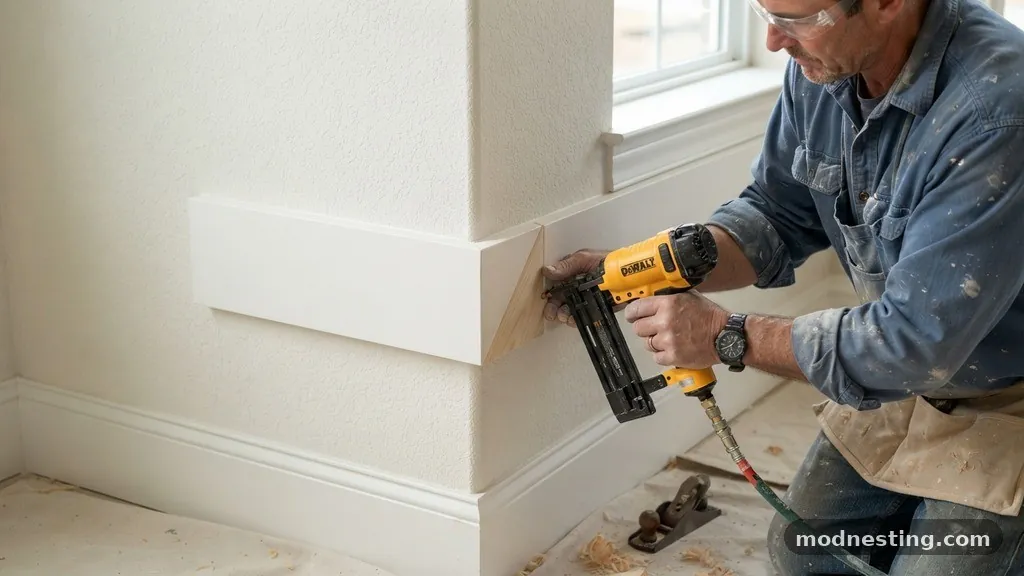
Many DIYers struggle with joints that do not close tightly. This is often caused by a miter saw that has drifted out of square over time. Before starting your project, use a framing square to verify that your saw is actually cutting at a true 90-degree angle when set to zero.
Another common issue is improper clamping pressure. If you do not hold the pieces together until the glue sets, the joint will eventually open up. Using a simple masking tape trick—wrapping the tape tightly across the joint—can provide just enough pressure to keep the pieces aligned while the glue cures.
Comparing Installation Methods
Different materials and project types require different approaches to finishing trim ends. The following table compares common methods for dealing with end-grain exposure.
| Method | Best Use Case | Pros | Cons |
|---|---|---|---|
| Return Block | Exposed window aprons | Professional appearance | Requires precision cuts |
| Butt Joint | Hidden or low-visibility areas | Fast and simple | Exposes raw end grain |
| Coped Joint | Inside corners | Tight, permanent seal | Steep learning curve |
| Caulking | Painting grade trim | Covers minor gaps | Not structural |
Essential Tips for Success
To ensure your project goes smoothly, follow these best practices that seasoned carpenters rely on for every installation.
- Always test your miter angles on scrap wood before cutting your final, expensive trim pieces.
- Keep your workspace clear of debris to ensure the saw base sits flat on the table.
- Use a sharp pencil for marking; a dull lead can add a sixteenth of an inch to your measurement errors.
- If you are working with pre-finished trim, use touch-up markers to hide any nail holes or minor scuffs.
- Consult the National Park Service technical guidelines for historical preservation if you are restoring original trim in an older home.
Frequently Asked Questions
Why do my miter joints always have a gap?
Gaps in miter joints are almost always caused by the saw blade being slightly out of calibration or the trim not being held firmly against the fence. Check your saw’s squareness and ensure you are using a consistent, steady hand during the cut.
Can I use wood putty instead of wood filler?
Wood putty and wood filler are often used interchangeably, but wood filler hardens more effectively and is better for sanding. Wood putty often remains slightly oily and is better for filling small nail holes in pre-finished trim after the final coat.
Is a coping saw necessary for trim returns?
While a coping saw is essential for inside corners, it is rarely needed for a standard return block. If you have an intricate molding profile, however, a coping saw can help you manually trim the profile of the return block to match the main board perfectly.
How do I fix a piece of trim that I cut too short?
If you have cut a piece too short, it is usually best to recut a new piece. If you must salvage it, you can sometimes use a scarf joint to extend the length, though this is only recommended if the area will be painted and the joint can be hidden with wood filler.
What is the best way to attach trim to drywall?
Use a brad nailer with 2-inch nails to ensure you penetrate the drywall and reach the wall studs. For areas where there are no studs, use a high-quality construction adhesive to prevent the trim from pulling away from the wall over time.
Conclusion
Achieving a professional result when angling or return the ends of an apron trim board neatly requires a combination of patience, the right tools, and an understanding of wood movement. By taking the time to calibrate your saw and ensuring your measurements are precise, you can create seamless transitions that enhance the character of your home. Remember that even if your first attempt is not perfect, small gaps can be managed with the right filler and caulk techniques.
Focus on the basics, keep your blades sharp, and do not hesitate to practice on scrap material until you feel confident. With these skills in your toolkit, you are well-equipped to handle any trim project with confidence and style.