How to Notch a Window Stool Around Deep Drywall Corners for Tight Fit
Achieving a professional finish when notching a window stool around deep drywall corners for a tight fit requires patience and a methodical approach to measuring. When your window frame meets a wall with a thick drywall return, the transition often creates an irregular gap that standard carpentry tools cannot bridge without careful modification.
By properly scribing the material to match the wall’s unique profile, you ensure that the wood trim sits flush against the surface, eliminating unsightly gaps. This process relies on precision measurements and the right cutting technique to transform a flat board into a custom-fitted piece of finish carpentry.
Tools Required for Precision Notching
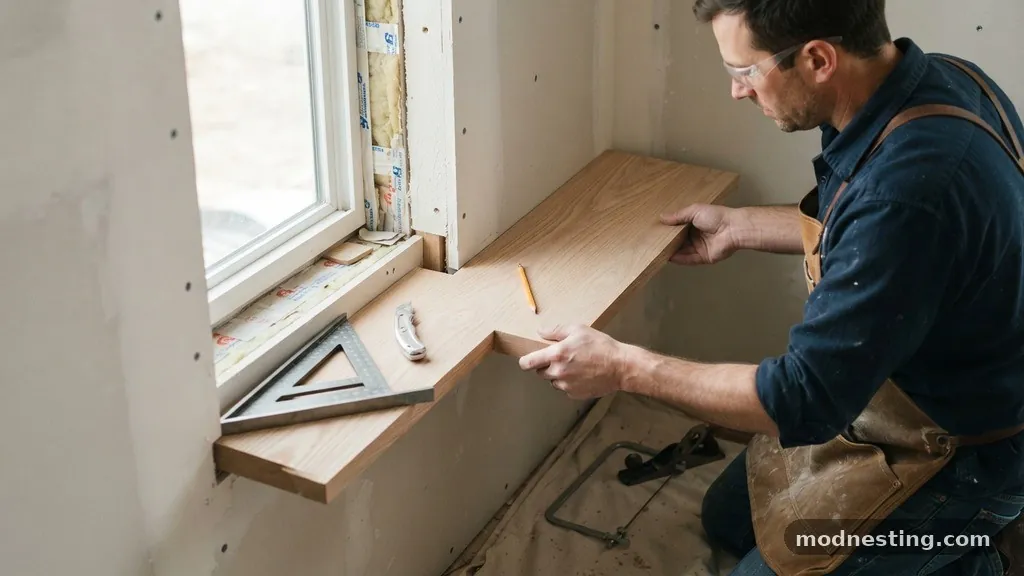
Before you begin, gather the essential tools to ensure the process goes smoothly. You will need a high-quality carpenter’s square to check for plumb and level, as well as a reliable scribing tool or a compass to transfer the wall’s contour to the wood.
A jigsaw or an oscillating multi-tool is indispensable for making the intricate cuts required to navigate around drywall returns. You should also have a sand block and various grits of sandpaper on hand to refine the edges once the rough cut is complete.
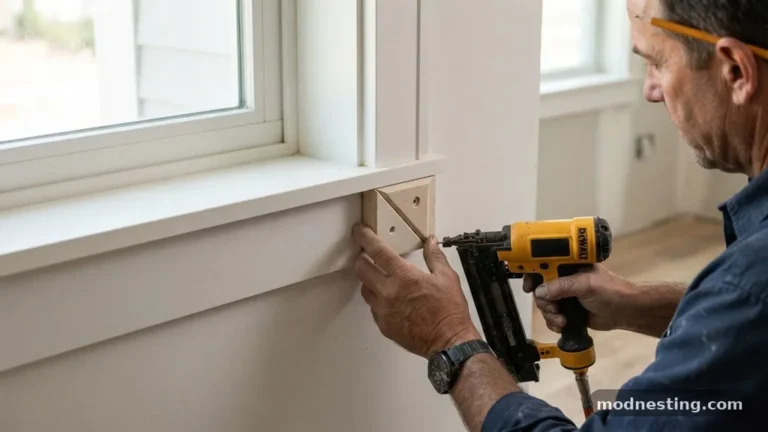
For measuring, a tape measure and a contour gauge are vital, especially if the drywall corner has a slight radius or is not perfectly square. A miter saw will handle the primary cuts for the stool’s length, while a finish nailer will secure the piece once the fit is perfected.
Having a supply of wood shims is also critical, as they allow you to adjust the height and angle of the stool before you commit to the final attachment. If your project involves a deep reveal, consider using a scrap piece of plywood as a template before cutting your finished material.
Measuring the Window Opening and Return
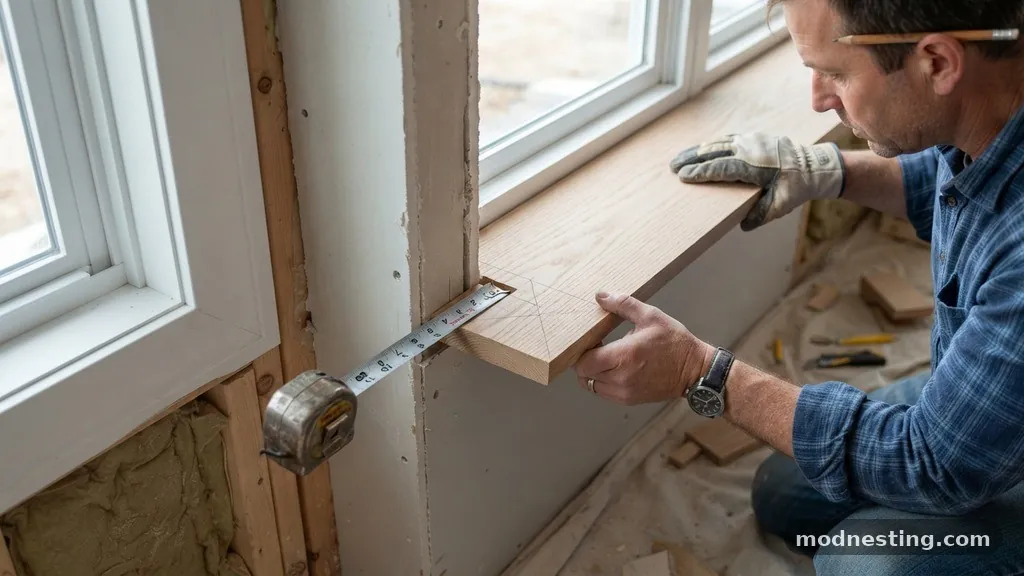
The first step in any successful installation is accurately measuring the depth of the reveal and the width of the window frame. Start by measuring the distance from the interior face of the window frame to the front edge of the drywall return.
If the drywall corner is not perfectly square, which is common in older homes, you must measure the depth at both the left and right sides. Record these numbers clearly, as they will dictate the depth of your notches.
Use a carpenter’s square to verify if the wall is perpendicular to the window frame. If there is a variation, note exactly how many degrees or fractions of an inch the wall deviates from a true 90-degree angle.
This measurement is crucial because even a small error can result in a gap that is difficult to hide with caulk later. When you transfer these measurements to your wood stock, always add an extra 1/16th of an inch to account for minor adjustments during the final fitting.
Using a Contour Gauge for Complex Shapes
When dealing with drywall corner beads that have a rounded edge, a simple straight-edge measurement will not suffice. A contour gauge is the most efficient tool for capturing the exact shape of these corners.
Press the gauge firmly against the drywall return, ensuring that all the pins are pushed back evenly to form a perfect silhouette of the corner. Once you have the shape, carefully transfer this profile to the back of your window stool using a pencil.
If you do not have a contour gauge, you can create a cardboard template by cutting it to fit the gap first. Place the cardboard against the window frame and push it into the corner, trimming it with scissors until it sits perfectly flush.
Trace this cardboard shape onto your wood, ensuring the orientation is correct before you start cutting. This step prevents costly mistakes on expensive trim materials and allows you to test the fit multiple times without damaging the final piece.
Executing the Cuts with a Jigsaw
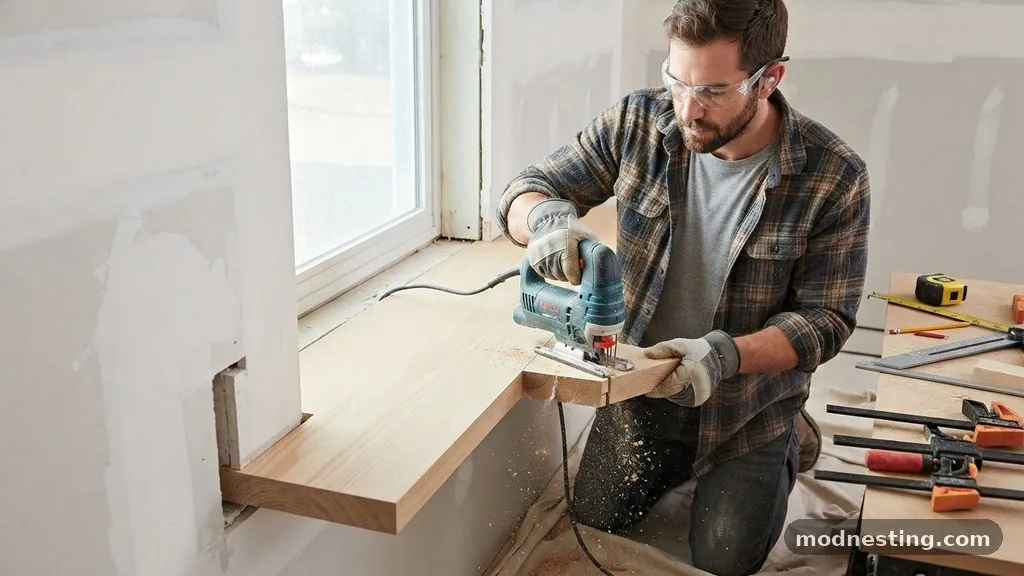
Once your lines are marked, it is time to make the cuts. If you are using a jigsaw, select a fine-toothed blade designed for smooth wood cuts to minimize splintering.
Start by making your straight cuts first, then switch to slower, more controlled movements when navigating the curved or notched portions. Keep the jigsaw base flat against the wood surface to ensure the cut is square and does not wander.
If the notch is particularly deep or the wood is hardwood, an oscillating multi-tool is often a better choice. The oscillating motion provides more control and allows you to cut directly into tight corners where a jigsaw blade might be too large.
Always cut slightly on the waste side of your pencil line, leaving a tiny amount of material that can be removed with a sand block for a precision fit. This approach is much easier than trying to fill a gap caused by an over-cut.
Refining the Fit with Hand Tools
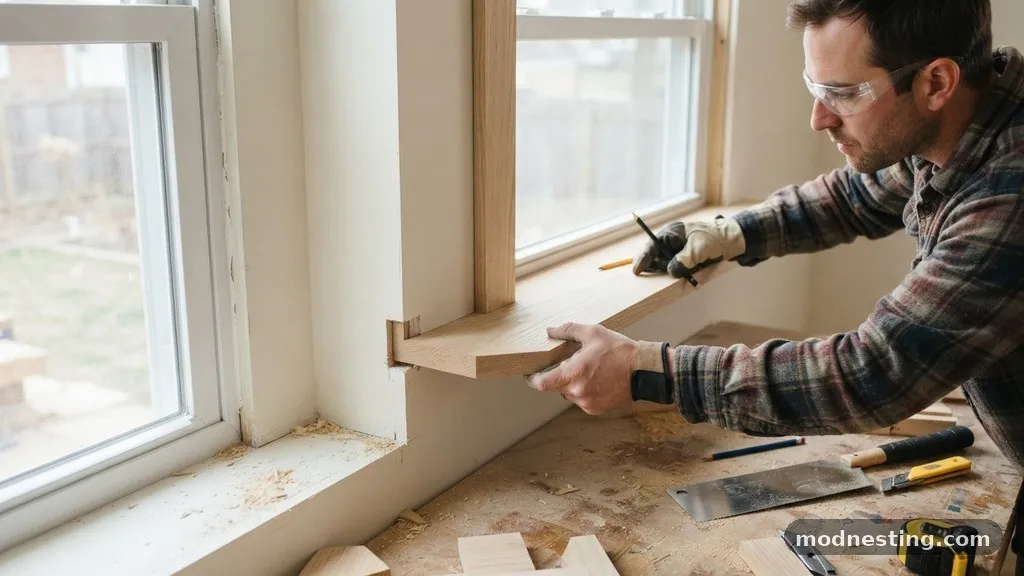
The initial cut rarely results in a perfect fit on the first try. Use a sand block or a rasp to slowly remove the excess wood until the stool slides into place snugly against the drywall.
Check the fit frequently, and look for “binding” points where the wood touches the wall before the rest of the stool is fully seated. These tight spots will leave visible gaps elsewhere, so identify them by observing where the wood is rubbing against the paint or drywall.
If you find that the stool is slightly too long, trim the edges with a sharp block plane or a utility knife. For stubborn spots that are just a hair too tight, a small file or a rotary tool with a sanding drum can work wonders.
Remember that the goal is a friction fit that does not require excessive force to install. When the stool sits flush against the window frame and the drywall return without rocking, you are ready to proceed.
Installing the Window Stool
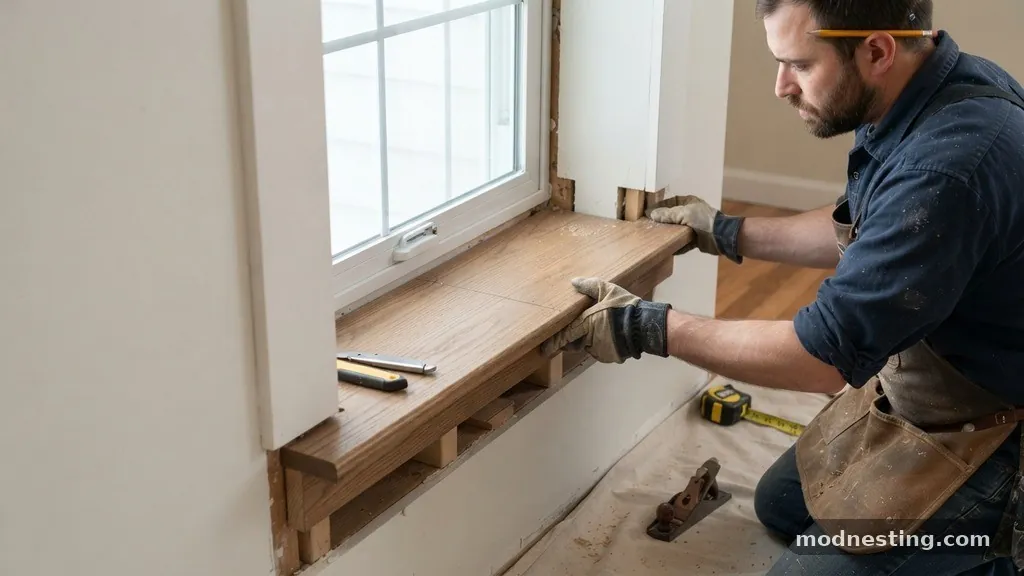
Once you are satisfied with the fit, it is time to secure the piece. Apply a thin bead of wood glue to the edge of the window frame or the rough sill where the stool will sit.
If the stool needs to be leveled, place wood shims underneath it to ensure it is perfectly flat. This prevents the wood from bowing over time, which can pull the joints apart.
Use a finish nailer to secure the stool to the wall studs or the window sill. If you want to keep the surface clean, consider using a blind nail technique where you nail through the edge that will be covered by the casing.
If you must nail through the face, use a nail set to sink the heads just below the surface. Fill these holes later with high-quality wood putty that matches your wood finish, ensuring the repair is invisible to the casual observer.
Handling Drywall Return Variations
Not every window is installed perfectly, and you may encounter drywall returns that are not plumb or square. In these cases, you might need to “scribe” the entire back edge of the stool to match the wall’s imperfections.
Use a compass to trace the wall’s profile onto the wood, keeping the compass point against the wall and the pencil on the wood. This creates a line that perfectly mirrors the wall, even if it is bowed or wavy.
When the wall is significantly out of square, you may need to add a small piece of trim or base cap to cover the transition. This is common in older homes where the framing has settled over time.
If you use a piece of trim, ensure it is cut to match the contour of the stool and the wall. By layering these elements, you can hide almost any imperfection in the drywall while maintaining a clean, professional look.
Comparison of Cutting Methods
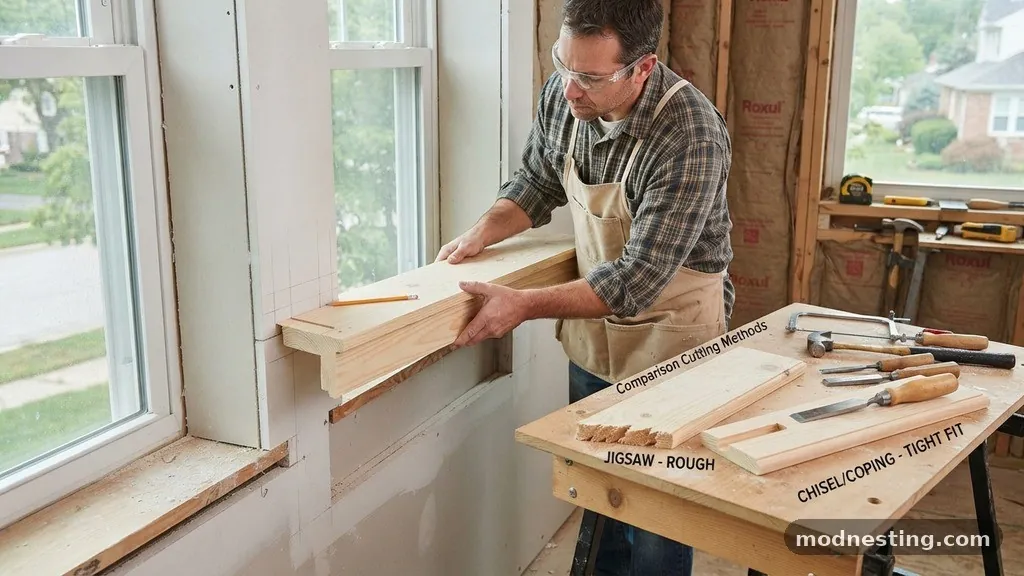
Different tools offer varying levels of precision and ease of use when notching trim. Choosing the right one depends on the wood density and the complexity of the cut.
| Tool | Precision Level | Best Use Case |
|---|---|---|
| Jigsaw | Moderate | Rough cuts and long, sweeping curves. |
| Oscillating Tool | High | Tight corners and plunge-cutting into existing walls. |
| Coping Saw | High | Intricate curves and fine detail work. |
| Hand Rasp/File | Very High | Final adjustments and smoothing edges. |
Finishing Touches and Caulking
After the stool is nailed in place, you may still have a hairline gap between the wood and the drywall. This is normal, as wood expands and contracts with humidity changes.
Use a high-quality painter’s caulk to fill these small voids. Apply a thin, consistent bead, then smooth it with a damp finger or a small caulking tool to create a seamless transition.
If you are painting the trim, use a caulk that is specifically labeled as paintable. Once the caulk has cured, you can sand any rough spots and apply your primer and finish coat.
This final step seals the gap, preventing air infiltration and providing a professional, finished appearance that will last for years. For more information on proper carpentry techniques, consult the National Park Service technical preservation briefs for industry-standard guidance.
Common Challenges and Solutions
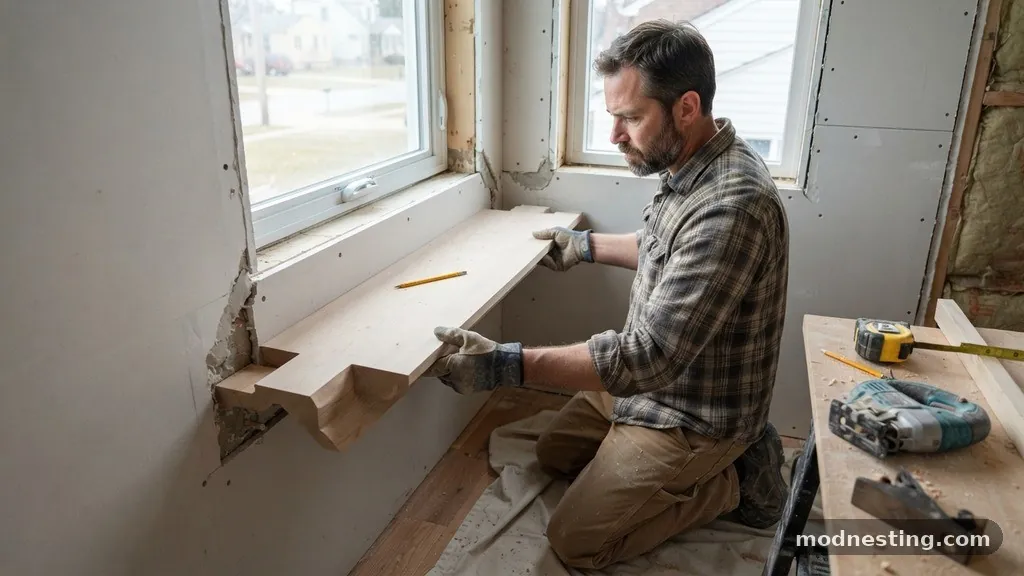
One common issue is the stool being too short to reach the casing, leaving a gap at the ends. To fix this, you can add small blocks of wood to the ends of the stool, cut to the same profile as the casing.
Another challenge is the drywall corner bead interfering with the fit. If you find the corner bead is protruding, you may need to carefully sand or file the metal or plastic bead so the wood can sit flush.
Always ensure that you are working with dry, stable materials. If the wood for your stool has been sitting in a damp garage, it will shrink once installed in a climate-controlled room.
Let the wood acclimate to the room’s temperature and humidity for at least 48 hours before cutting. This simple step prevents the wood from pulling away from the drywall once it dries out and shrinks, saving you from having to redo the work.
Frequently Asked Questions
How far out should a window stool extend from the wall?
A standard window stool usually extends about 1 to 1.5 inches beyond the face of the drywall or the window casing. This provides enough of a ledge to hold small items without being so deep that it becomes a structural obstruction or interferes with curtains.
Should I use wood glue or construction adhesive for the stool?
For most window stool installations, wood glue is sufficient if the stool is being nailed into solid framing or a sill. If you are attaching the stool to a masonry or metal surface, a high-quality construction adhesive is preferred to ensure a permanent bond.
What if my window stool is not perfectly level?
If the window sill itself is not level, you must use wood shims to bring the stool to a level position before fastening. If you do not shim it, the stool will look crooked relative to the window frame, which is often more noticeable than a small gap under the stool.
How do I hide gaps between the stool and the drywall?
For small gaps, a thin line of paintable caulk is the standard solution. For larger gaps, you may need to scribe the back edge of the stool more accurately or install a small piece of trim, such as a base cap or quarter-round, to bridge the space between the wall and the wood.
Can I use a miter saw for the notches?
A miter saw is excellent for the long straight cuts of the stool, but it is rarely useful for the notches themselves. Use the miter saw to cut the stool to length and to create the decorative ends, but rely on a jigsaw or oscillating tool for the specific notch geometry.
Final Considerations
Mastering the art of notching a window stool around deep drywall corners for a tight fit is a hallmark of skilled finish carpentry. By taking the time to measure accurately, using the right tools to create precise cuts, and refining the fit with hand tools, you can achieve a result that looks seamless. Remember that patience is your most valuable asset during this process; checking the fit frequently is always better than rushing and over-cutting the material.
Whether you are working on a historic home restoration or a modern renovation, these techniques will help you achieve a high-quality finish. Once the stool is securely installed, caulked, and painted, the transition between the window and the wall will look professional and intentional. If you have questions about specific wood types or finishes, don’t hesitate to reach out to a local finish carpenter or visit a local lumber yard to discuss the best materials for your project.