Can You Replace a Drywall Return Window with a Wood Sill Retrofit?
Homeowners often ask, “Can you replace a drywall return window with a wood sill retrofit?” because they want to blend modern aesthetics with the practical durability of traditional millwork. While drywall returns offer a minimalist, clean look, they are prone to cracking, water damage, and scuffs from daily use.
Retrofitting a wood sill into an existing drywall-wrapped opening is entirely possible and serves as an excellent upgrade for high-traffic areas. By following specific preparation and installation steps, you can transition from a stark, fragile finish to a warm, protected, and functional window ledge that lasts for decades.
Feasibility of Window Retrofits
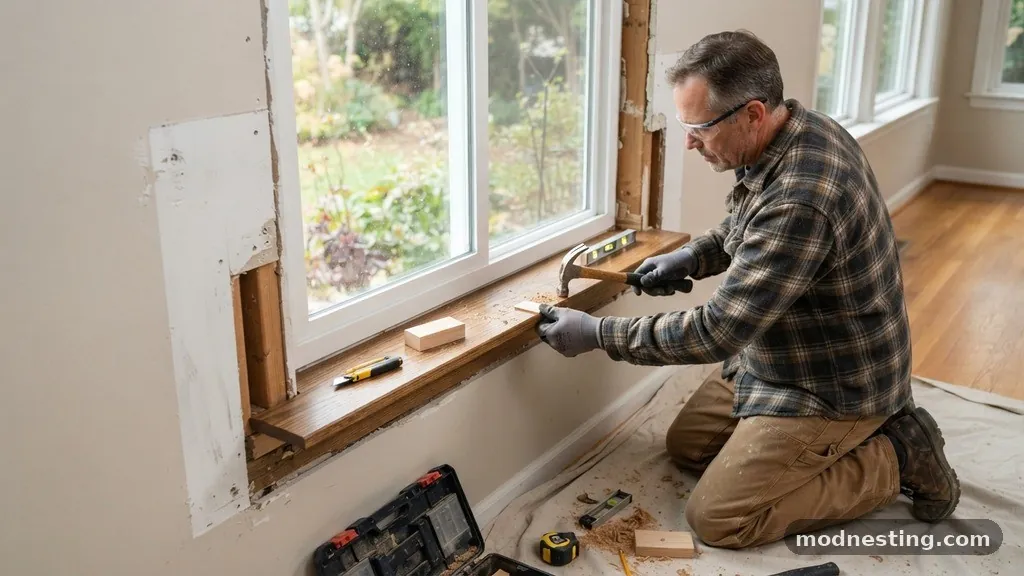
The short answer to whether you can replace a drywall return window with a wood sill retrofit is a definitive yes. Many modern homes utilize drywall returns to achieve a seamless, trim-less transition between the wall and the window frame.
However, these returns are essentially just corner beads covered in joint compound and paint, making them susceptible to impact damage. Adding a solid wood sill provides a protective barrier against moisture and physical wear.
You are essentially creating a seat for the wood to rest upon while ensuring the surrounding drywall remains undisturbed. This process involves cutting away a small portion of the existing drywall return to create a recessed shelf.
Because you are working with an existing opening, you must be careful not to damage the window flange or the underlying structure. The key to a successful project is precision cutting and ensuring the new sill is perfectly level.
Assessing the Existing Structure
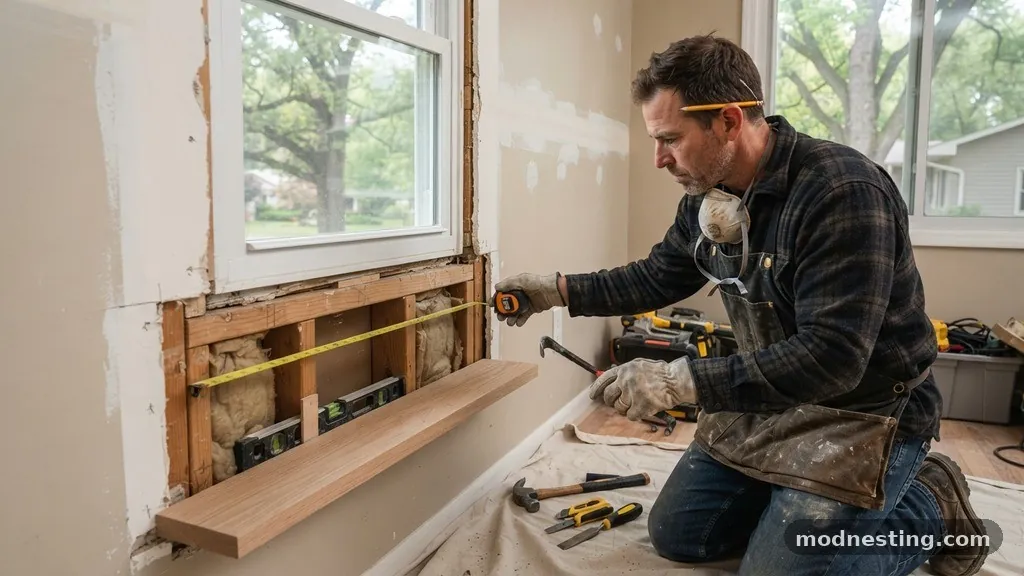
Before you begin, inspect the condition of your current window area. If the drywall returns show signs of significant water damage, swelling, or mold, you must address the source of the moisture first.
Simply covering a damp wall with wood will trap moisture and lead to rot behind your new trim. Poke the drywall with a screwdriver to check for soft spots that indicate structural decay.
Examine the depth of the current return to determine how much wood you need. Most drywall returns are built using standard metal or plastic corner beads, which add only a fraction of an inch to the frame.
You will likely need a piece of lumber that is at least 3/4-inch thick to provide enough support for the sill. Measure the width of the window frame from left to right, adding extra length if you intend to create “horns” that extend beyond the drywall on either side.
Tools and Materials Required
You do not need a massive professional workshop to complete this project, but you do need specific tools to ensure a tight fit. A high-quality oscillating multi-tool is the single most important piece of equipment for this job.
It allows you to plunge-cut into the drywall and corner bead with extreme precision without damaging the window sash. You will also need a reliable level, a jigsaw for custom cuts, and a miter saw for clean edges.
Gather high-quality materials to ensure your retrofit looks like a professional installation. Select a stable wood species like poplar if you plan to paint the sill, or oak/maple if you prefer a stained finish.
Avoid using cheap pine if you want a long-lasting, warp-resistant result. You will also need:
- Oscillating multi-tool with a metal-cutting blade
- Construction adhesive (polyurethane-based)
- Wood shims for leveling
- Caulk for finishing the seams
- Finish nails and a pneumatic nailer
- Sandpaper in varying grits (80, 120, and 220)
Cutting the Drywall Return
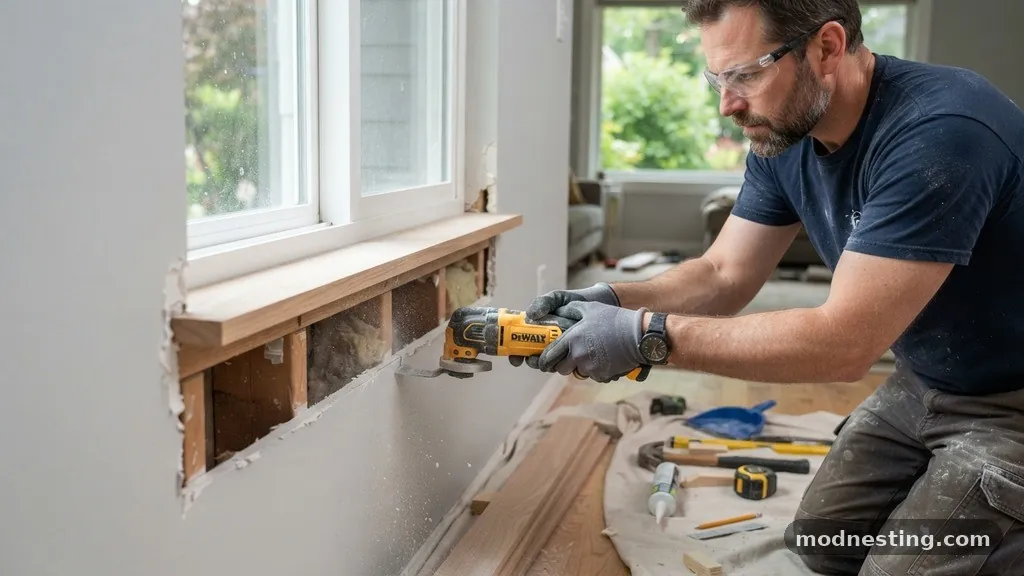
The most intimidating part of this process is cutting into the existing wall. Mark the depth and height of your new sill on the drywall using a pencil and a level.
Remember that the wood sill must sit flush against the window frame, so your cut needs to be perfectly straight. Use the oscillating tool to carefully remove the drywall and the corner bead along your marked lines.
As you cut, keep the blade depth shallow to avoid hitting the rough framing or the window itself. Once the drywall is removed, you may find the wood studs or the window casing behind it.
Clean out all debris, loose joint compound, and dust from the opening. A vacuum cleaner is essential here, as you need a perfectly flat surface for the new wood to adhere to.
Installing the Wood Sill
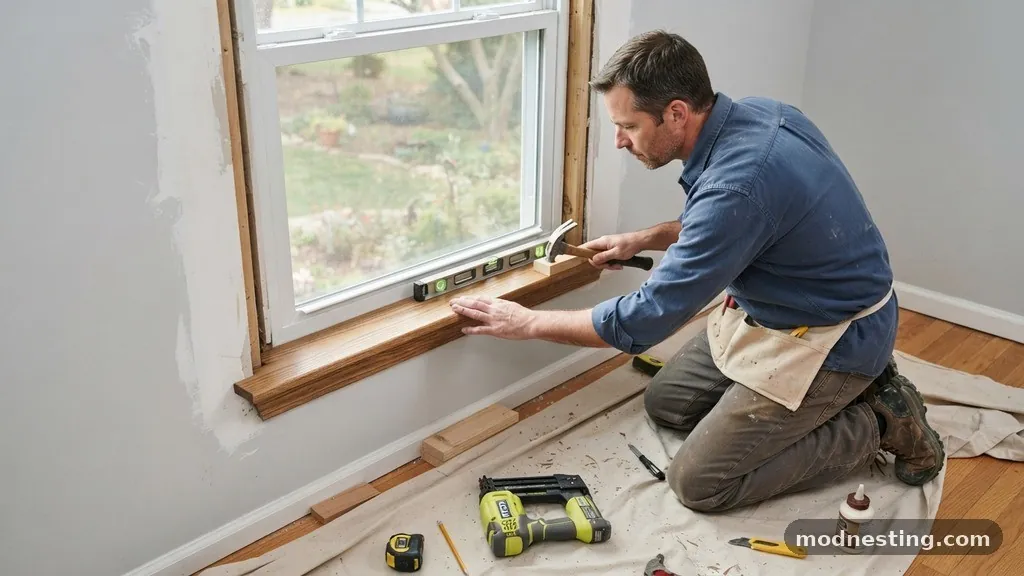
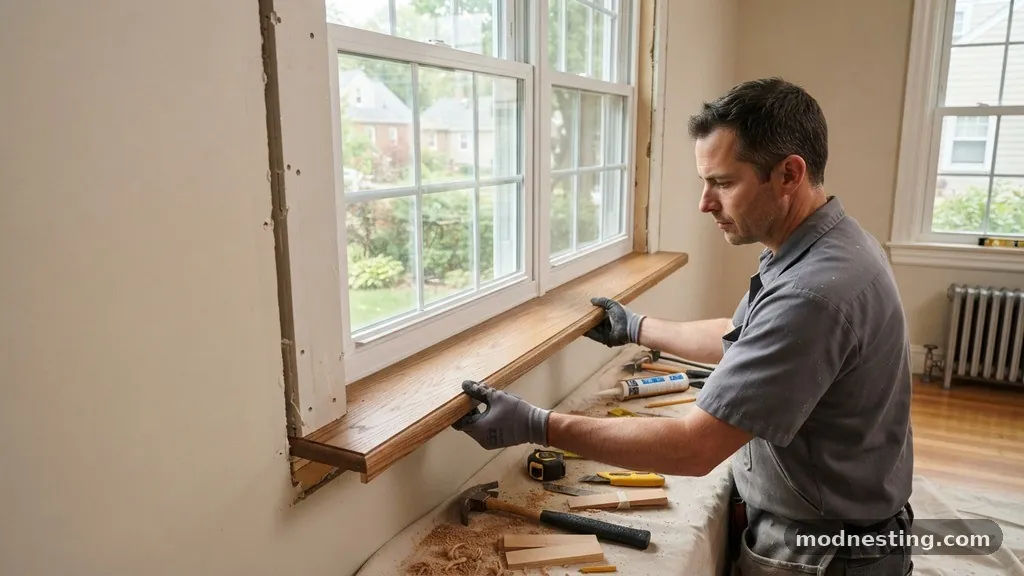
Test-fit your wood piece before applying any adhesive to ensure it slides into the opening without binding. If the fit is too tight, trim the wood slightly rather than forcing it, which could crack the surrounding drywall.
Once the fit is perfect, apply a generous bead of construction adhesive to the bottom framing. Place the sill into the opening and press down firmly to ensure a solid bond.
Check for level across the entire length of the sill. If the window frame is slightly out of square, use thin wood shims to bring the sill to a perfectly flat position.
If you are extending the sill past the drywall, ensure the edges are supported or secured to the wall studs. Once satisfied with the position, use finish nails to secure the sill into the underlying structure.
Finishing the Edges
After the glue has set and the sill is secure, you will likely have small gaps between the wood and the drywall. Do not try to fill these with drywall mud, as the wood will expand and contract with humidity, causing the mud to crack.
Instead, use a high-quality paintable acrylic latex caulk to bridge the gap. Smooth the caulk with a wet finger to create a seamless transition.
If you have exposed the rough edges of the drywall, you may need to apply a small amount of spackle to smooth them out before painting. Sand the wood sill thoroughly, starting with 80-grit and finishing with 220-grit for a smooth surface.
Prime the wood with a high-quality wood primer to prevent tannins from bleeding through. Finally, apply two coats of paint or stain to match your home’s existing interior design.
Comparing Drywall Returns vs. Wood Sills
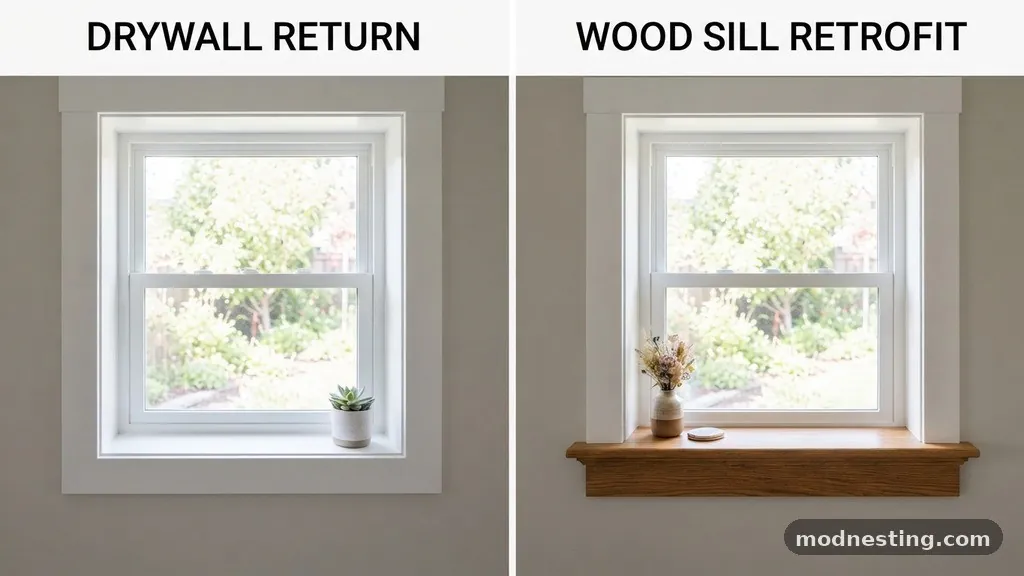
Choosing between these two options involves balancing aesthetic preference with long-term maintenance needs. Drywall returns offer a modern, architectural look that makes a space feel larger and cleaner.
However, wood sills provide a functional space for plants, decor, and structural reinforcement. Below is a comparison of these two common interior design choices.
| Feature | Drywall Return | Wood Sill Retrofit |
|---|---|---|
| Durability | Low (prone to chips) | High (impact resistant) |
| Aesthetic | Minimalist | Traditional/Custom |
| Maintenance | Frequent touch-ups | Occasional refinishing |
| Installation | Standard build | Requires retrofitting |
| Cost | Included in framing | Material + labor |
Managing Expansion and Contraction
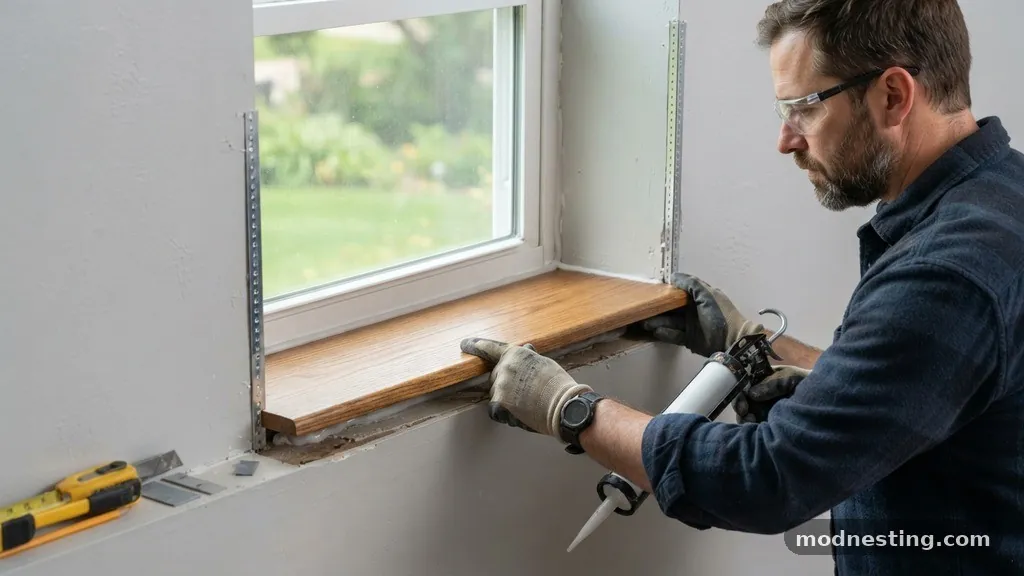
Wood is a natural material that reacts to changes in indoor humidity and temperature. If you install your sill during the peak of winter or summer, it will inevitably shift as the seasons change.
This is why you must never use rigid filler, such as drywall compound, to fill the joints between the wood and the wall. If you do, you will see cracks form within a few months.
Always use a flexible caulk that allows for movement without breaking the seal. If you are using a very wide board for your sill, consider leaving a tiny gap at the ends that can be covered by a decorative end cap or molding.
Properly sealing the wood with polyurethane or paint will also mitigate moisture absorption. This step significantly reduces the amount of expansion the wood undergoes throughout the year.
Common Mistakes to Avoid
Many DIYers fail by rushing the measurement phase. If your sill is cut even a fraction of an inch too short, you will have large, unsightly gaps that are difficult to caulk successfully.
Take the time to create a cardboard template of the window opening before cutting into your expensive hardwood. This ensures that every angle and curve of the window frame is accounted for.
Another common error is failing to level the sill properly. A sloped sill looks unprofessional and makes it difficult to place anything on the ledge.
Use a long level to ensure the sill is perfectly horizontal, even if the window frame itself is slightly tilted. You can compensate for framing errors by using shims underneath the board to achieve a perfectly flat final appearance.
Frequently Asked Questions
Is it difficult to match the existing trim?
Matching existing trim is straightforward if you take a sample of your current casing to a local lumber yard or paint store. Most hardware stores can perform a custom color match using a small piece of your existing trim. If you cannot find an exact match, painting the new sill a contrasting color or a crisp white can create a clean, intentional design choice.
Can I install a wood sill on a window that has no frame?
Yes, but you must ensure you have a solid surface to anchor the wood. If the window is set directly into the framing, you are essentially building a new sill from scratch. You will need to ensure the bottom of the window is properly flashed to prevent water intrusion before adding the wood trim. Consult technical preservation guidelines for best practices regarding historic or sensitive window structures.
Do I need to remove the window to add a sill?
No, you do not need to remove the window. The beauty of a retrofit is that it is designed to be installed from the interior without disturbing the exterior siding or the window unit itself. The oscillating tool allows you to work entirely from the inside, keeping the project contained to the room you are renovating.
What happens if I hit the window glass while cutting?
This is the primary risk of using an oscillating tool. To prevent this, always work slowly and keep the blade oriented away from the glass. You can place a thin piece of metal flashing or a putty knife between the blade and the glass as a sacrificial guard. If you are nervous, manually cut the final few millimeters of drywall using a utility knife.
Is it cheaper to use MDF or solid wood?
MDF is significantly cheaper and easier to find, but it is not recommended for window sills. MDF swells rapidly if it gets wet, which is a major risk for any area near a window that might experience condensation. Solid wood or high-quality PVC boards are much better investments for long-term durability in high-moisture areas.
Conclusion
Replacing a drywall return with a wood sill is a rewarding project that balances function and aesthetics. While the process requires precision and the right tools, it is well within the reach of a dedicated homeowner looking to improve their living space. By carefully cutting the drywall, ensuring a level installation, and using flexible sealants, you can create a durable ledge that resolves the common issues associated with minimalist drywall returns.
If you find your current windows are prone to damage or simply look incomplete, a wood sill retrofit provides the perfect solution. Start by measuring your openings today and take the first step toward a more refined, protected, and functional interior finish for your home.