How Far Should an Interior Window Sill (Stool) Stick Out from the Wall?
Determining how far should an interior window sill (stool) stick out from the wall is a common point of confusion for homeowners and DIY enthusiasts during interior renovation projects. Getting this measurement right is vital, as it balances the aesthetic appeal of your window trim with the functional reality of your space. An improperly sized stool can look out of place or interfere with window treatments like curtains and blinds.
By understanding the standard industry practices and the structural role of the trim, you can achieve a professional finish that enhances your home’s character. Proper planning ensures your windows look intentional and polished, regardless of the architectural style you choose to follow.
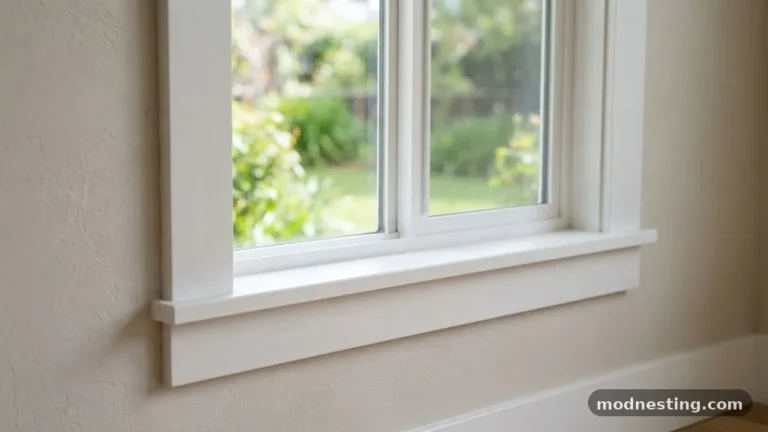
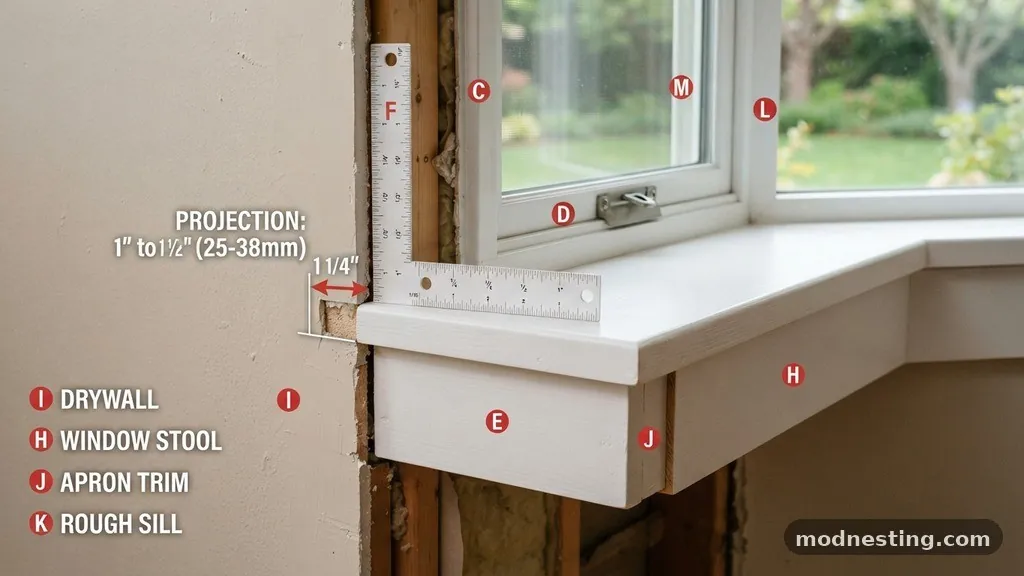
The industry standard for a window stool projection is generally between 1 inch and 1.5 inches measured from the face of the drywall. Some traditional styles may extend up to 2 inches, particularly if the home features thick, decorative molding.
Anything less than 1 inch often looks “flat” or unfinished, while anything beyond 2 inches risks becoming a tripping hazard or bumping into furniture. Always measure the total depth of your window cavity before cutting your material to ensure the stool remains proportional to the window casing.
Understanding the Anatomy of a Window Stool
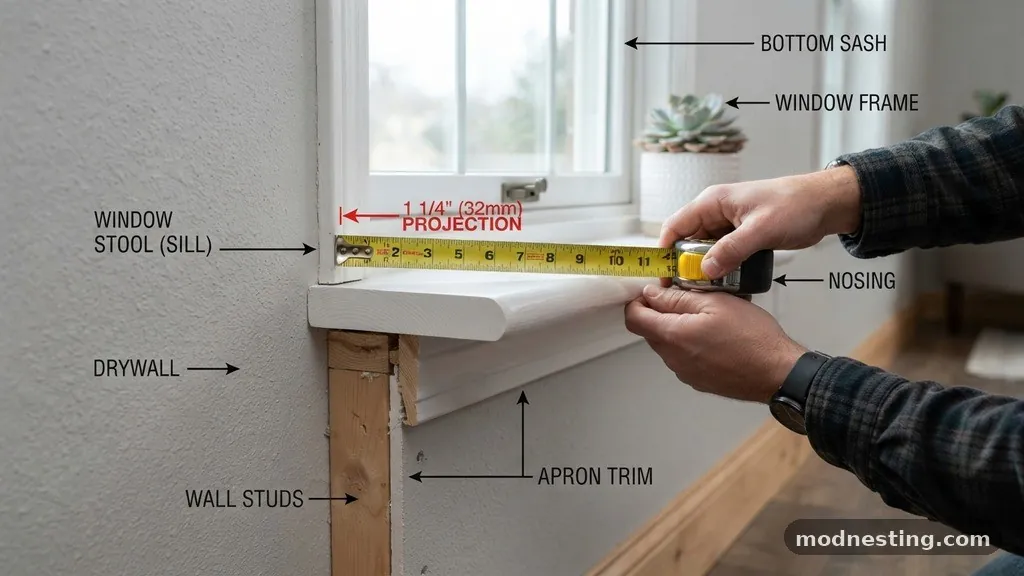
The window stool is the horizontal piece of wood that forms the base of your window frame. It sits on the sill plate and provides a decorative shelf inside the room.
Many people confuse the “sill” with the “stool.” The sill is technically the exterior component that sheds water, while the stool is the interior trim piece.
When you are planning your installation, consider the relationship between the stool and the casing. The casing is the vertical trim that surrounds the sides and top of your window.
The stool usually sits flush against the casing or, in more detailed carpentry, is notched to wrap around the trim. This creates a cohesive look that connects the window frame to the wall.
Think of the stool as a transition piece. It bridges the gap between the window unit and the interior wall surface.
Because it acts as a shelf, it should be sturdy enough to hold small decor items or plants. If you plan to use it for display, you might lean toward the 1.5-inch to 2-inch range for a bit more surface area.
Why the 1-Inch Rule Matters
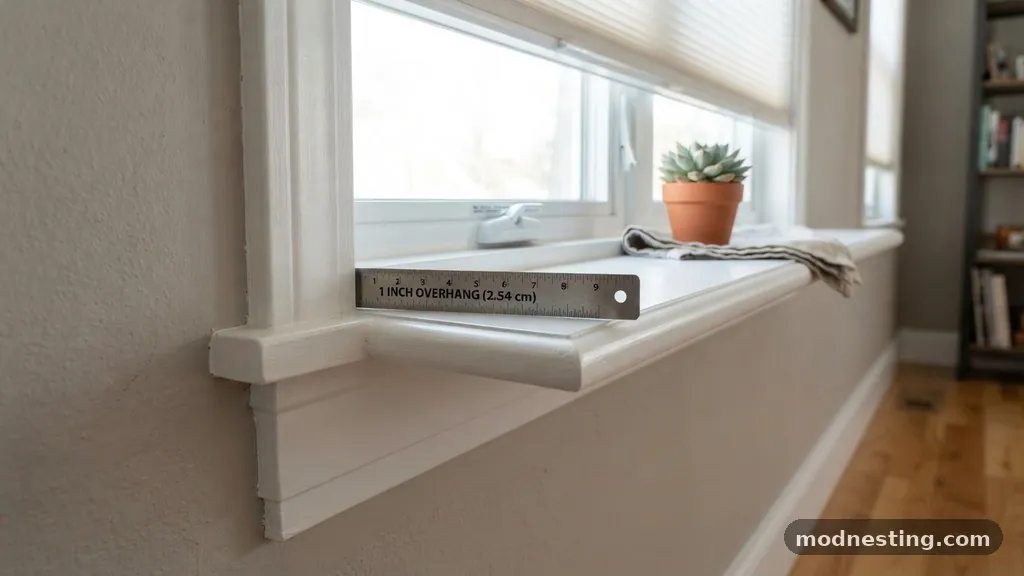
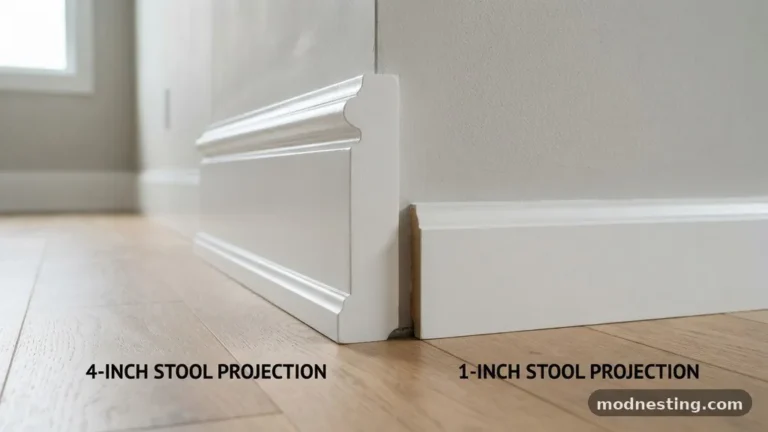
The 1-inch projection is widely considered the “sweet spot” for modern and transitional interior design. It provides enough depth to create a shadow line, which adds visual interest to the window assembly. A shadow line helps the window pop against the wall rather than appearing recessed or hidden.
If you choose a projection that is too short, the stool will look like an afterthought. It may not even clear the thickness of your drywall, making the transition between the trim and the wall look messy. You want the stool to feel substantial and purposeful.
Conversely, an excessive projection can make a room feel cramped. If your windows are located in a narrow hallway or near a high-traffic walkway, a long stool becomes a sharp edge. Keeping it within the 1-inch to 1.5-inch range minimizes the risk of someone bumping their hip or shoulder while passing by.
Measuring Your Space for the Perfect Fit
Before you head to the lumber yard, you need to measure the depth of your existing window opening. Start by measuring from the window frame itself out to the face of the drywall.
This is your base depth. You then add your desired projection to this number to get the total width of the board you need to buy.
For example, if your window frame sits 4 inches deep from the drywall, and you want a 1.5-inch projection, you need a board that is 5.5 inches wide. Always account for the thickness of the stool material itself. Most stools are made from 3/4-inch thick stock, which is standard for interior woodwork.
Don’t forget to account for the “horns” or “ears” of the stool. These are the parts of the stool that extend past the window casing on the left and right sides.
Standard practice suggests these ears should extend about 1 inch to 1.5 inches beyond the casing. This creates a balanced, framed appearance that anchors the window to the wall.
Selecting the Right Material for Your Window Stool
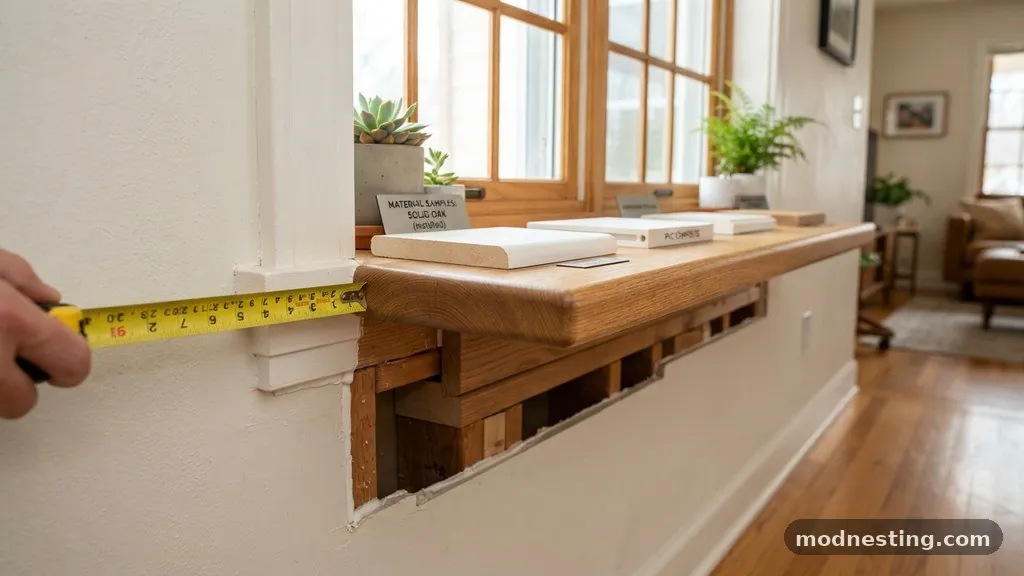
The choice of material significantly impacts how your stool wears over time. Softwoods like pine are common because they are easy to work with and cost-effective. However, they are prone to denting and scratching, especially if you set heavy objects on them.
Hardwoods such as oak, maple, or poplar offer much higher durability. These materials hold up better to the moisture that sometimes accumulates near windows, especially in older homes. If you plan to paint your trim, poplar is a favorite among professionals because it is smooth and lacks the deep grain patterns of oak.
For a high-end look, consider using MDF or high-density composite materials. These are stable, won’t warp with temperature changes, and come pre-primed for painting. They are ideal for clean, modern aesthetics where you want a perfectly flat, uniform surface.
Comparing Common Projections
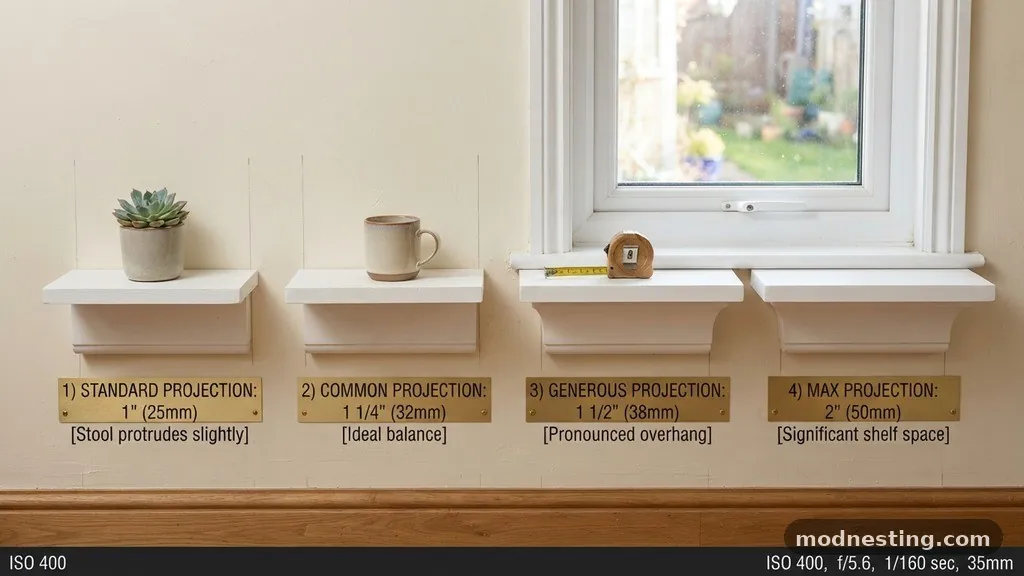
To help you decide on the right look for your home, consider how different projections influence the overall style. A very shallow projection is often found in minimalist or industrial designs. A deeper projection is common in farmhouse or colonial styles, where the trim is meant to be a focal point.
| Projection Distance | Aesthetic Style | Best Use Case |
|---|---|---|
| 0.5 to 0.75 Inches | Minimalist / Modern | Tight spaces or flush-mount windows |
| 1.0 to 1.25 Inches | Standard / Transitional | Most residential homes |
| 1.5 to 2.0 Inches | Traditional / Farmhouse | Homes with thick, ornate casing |
As shown in the table above, the 1.0-inch to 1.25-inch range is the most versatile for standard residential remodeling. If you have very thick walls, such as those found in older masonry homes, you might need a deeper stool to cover the sill area properly. Always prioritize function—the ability to install blinds—over pure aesthetics.
The Role of the Apron
The apron is the piece of trim that sits directly underneath the stool. It acts as a support and a decorative finish, covering the joint between the wall and the bottom of the stool. The width of your apron should ideally match the width of your side casings.
When you install the stool, the apron provides the structural stability needed for the overhang. Without an apron, a long stool might be prone to sagging over time. The apron ties the entire window assembly together, making it look like a single, well-crafted unit rather than a collection of separate boards.
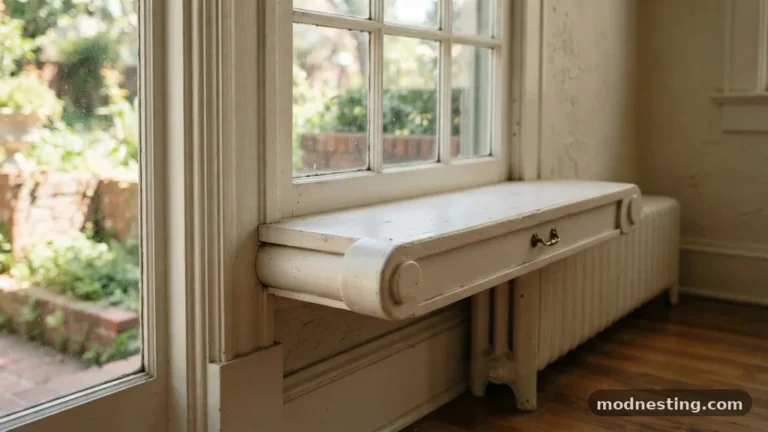
If you are using a wider stool, you might consider adding decorative brackets or corbels underneath. These provide extra support for the weight of the stool and add a classic, architectural touch. This is common in homes with deep, wide windows that serve as a seating area or plant shelf.
Common Installation Pitfalls to Avoid
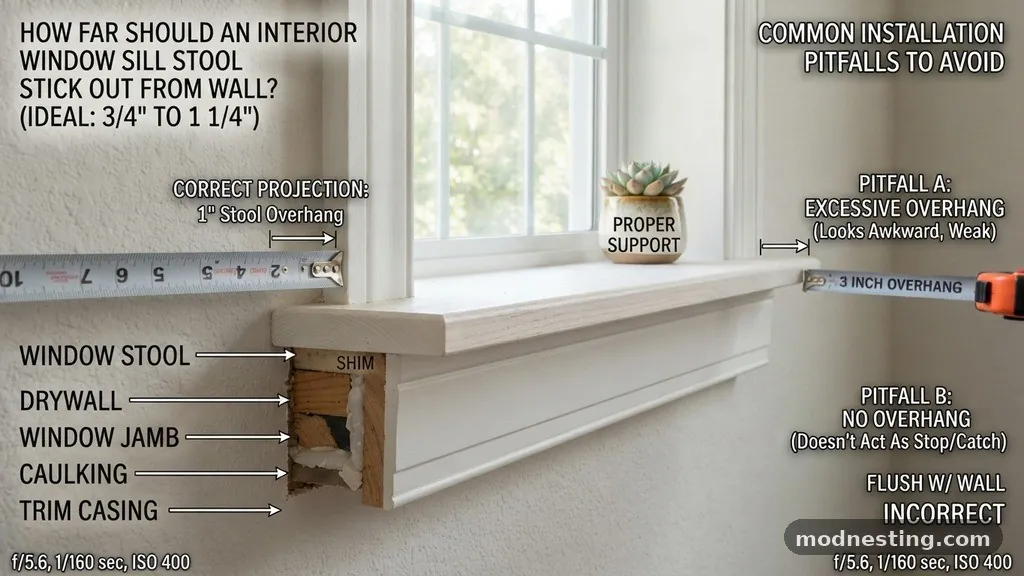
One of the most frequent mistakes during installation is failing to account for the “reveal.” The reveal is the small offset between the edge of the casing and the edge of the stool. If the pieces are perfectly flush, any slight settling of the house will cause the joints to gap.
Another issue is the fit against the drywall. Walls are rarely perfectly square, so you will likely need to scribe the back of your stool to match the irregularities of the wall. Using a compass to trace the wall contour onto the wood ensures a tight, professional seal that doesn’t require excessive amounts of caulk.
Finally, avoid using too much adhesive. While it is tempting to glue the stool down, remember that wood expands and contracts with humidity.
A few well-placed nails are usually sufficient. If you use too much glue, you might prevent the wood from moving naturally, leading to cracks or bowing.
Integrating Blinds and Window Treatments
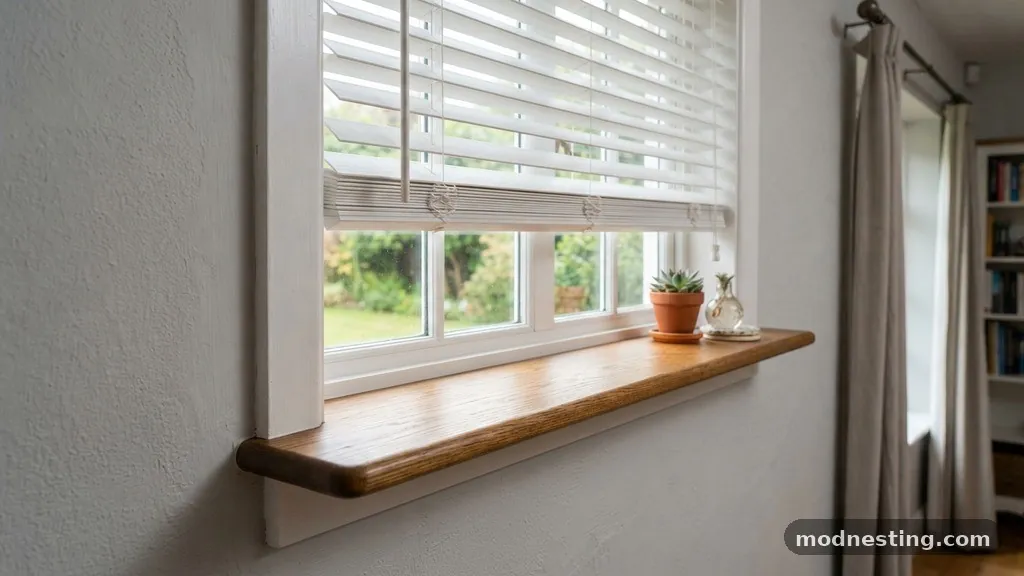
Before committing to a specific protrusion distance, verify the requirements for your window treatments. Many inside-mount blinds require a specific depth to clear the window hardware. If your stool sticks out too far, it might interfere with the operation of a roller shade or the rotation of shutter louvers.
Check the technical specifications provided by the manufacturer of your blinds. You can find detailed installation guides on sites like the National Fenestration Rating Council, which offers resources on window performance and installation standards. These documents often highlight the clearance needed for various mounting configurations.
If you have already installed the stools and realize they are in the way, you may need to use a spacer block behind your blinds. This is a common workaround, but it is much cleaner to plan the stool depth correctly from the start. Always measure twice and cut once to save yourself a headache later.
Tools You Will Need for a Professional Finish
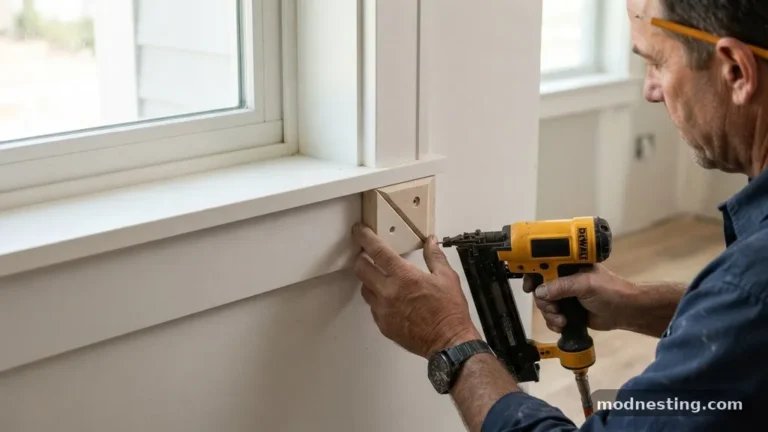
Achieving a clean installation requires the right tools. A high-quality miter saw is essential for making precise, clean cuts on your stool and apron. If you are doing a lot of trim work, a pneumatic nail gun will save you hours of labor and ensure the trim is securely attached.
A good block plane is also useful for fine-tuning the edges. Sometimes the stool needs a slight shave to fit perfectly against the window frame. A sharp plane allows you to remove material in tiny, controlled increments that sandpaper simply cannot match.
Finally, keep a coping saw or an oscillating multi-tool on hand. You will likely need to notch the stool to wrap it around the window casing. An oscillating tool makes this task significantly easier and more accurate than a traditional hand saw, especially in tight corners.
FAQ: Common Questions About Window Stools
Can I make my window stool wider to use as a shelf?
Yes, you can extend the stool further into the room to create a shelf. However, you must add structural support like brackets or corbels underneath. Without support, the wood will eventually sag or break under the weight of books or plants.
What if my window frame isn’t square?
Windows are rarely perfectly square, especially in older homes. You should scribe the back edge of the stool to match the wall. Use a compass to follow the wall’s contours and cut the board to match, which creates a seamless look without gaps.
Is it better to use solid wood or MDF for a stool?
Solid wood is more durable and looks better if you plan to stain it. MDF is cheaper, perfectly smooth, and great for painting. If you live in a very humid climate, solid wood or high-density composite is often a better choice to prevent swelling.
How do I finish the ends of the stool?
The ends of the stool should be finished with a clean, sanded edge. Some people prefer a rounded or bullnose profile to soften the look. If the stool extends past the casing, you can also return the ends back to the wall for a formal, built-in appearance.
Does the apron need to match the stool width?
The apron does not need to be as wide as the stool. In fact, it should usually be the same width as your side window casings. The stool will naturally overhang the apron, which is a standard and visually pleasing design detail.
Conclusion
Deciding how far should an interior window sill (stool) stick out from the wall is a balance of aesthetics and practical function. By keeping your projection between 1 and 1.5 inches, you ensure a classic, professional look that accommodates most window treatments without creating a hazard. Remember to account for the thickness of your drywall and the specific requirements of your blinds during the planning phase.
Taking the time to properly scribe the wood and select a durable material will pay off with a finish that lasts for years. When you approach your window remodeling with these measurements in mind, you create a polished, high-quality result that adds real value to your home. Feel free to reach out with questions about your specific window dimensions or trim style.