The Window Stool “Horn”: How Far Past the Casing Should It Extend?
{“title”:”The Window Stool \”Horn\”: How Far Past the Casing Should It Extend?”}
Determining the proper length of the window stool “horn” is a classic carpentry challenge that defines the visual balance of an interior wall. When you look at a window, the stool is the interior horizontal ledge, while the “horns” are the extensions that project beyond the vertical side casings. Getting this measurement right creates a sense of proportion that anchors the window within the room.
If the horns are too short, the window looks cramped; if they are too long, they can appear awkward or obstructive. Most professional finish carpenters rely on a standard range of 1 to 1.5 inches on each side to achieve the desired architectural aesthetic.
Deciding how far the window stool “horn” should extend involves balancing traditional design rules with the practical realities of your wall space. While 1.25 inches is often considered the “sweet spot” for a classic look, your specific trim package might dictate a different approach.
This article breaks down the technical measurements, the historical context of these trim components, and the installation techniques required to achieve a clean, professional finish. Whether you are working on a historic restoration or a modern build, understanding these dimensions ensures your window trim looks intentional and perfectly scaled.
The industry standard for a window horn is typically between 1 inch and 1.5 inches beyond the outer edge of the side casing. This specific projection creates a visual “stop” for the eye, signaling that the window assembly is complete and contained.
If you have narrow casings, such as a simple 2-inch wide profile, a 1-inch horn usually provides enough visual weight to look balanced. Conversely, if you are using wide, ornate colonial casings, you might push the horn out to 1.5 inches to maintain the necessary scale.
Using a consistent measurement across all windows in a room is more important than the exact number you choose. If you decide on a 1.25-inch extension, apply that same figure to every window on that floor. This uniformity creates a cohesive design language that ties the room together.
When you vary the horn length from window to window, the inconsistency becomes immediately noticeable to anyone entering the space. Always measure from the outer edge of the casing, not the window frame itself, to ensure accuracy.
Historical Context and Traditional Design
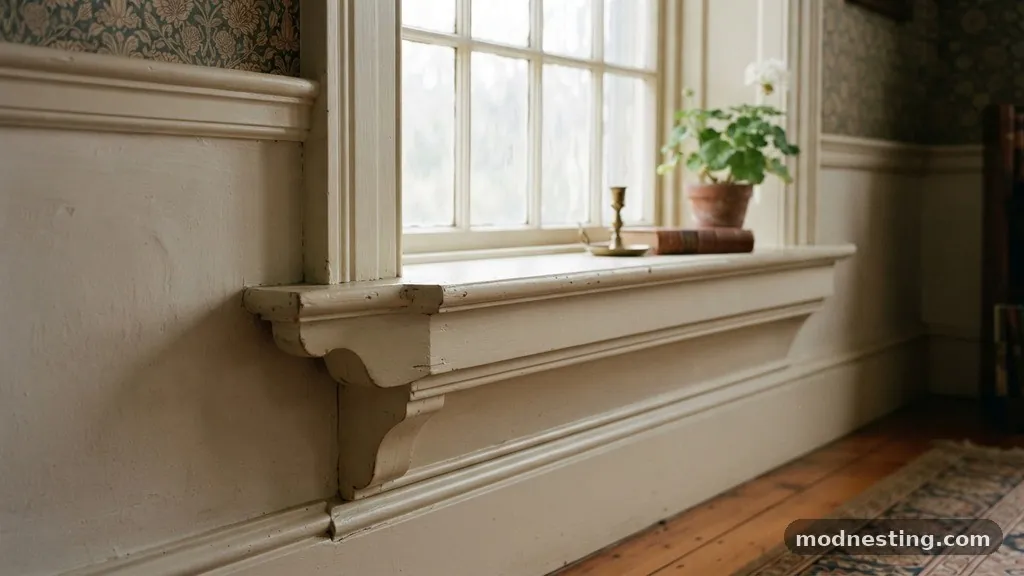
The practice of extending the stool past the casing traces its roots to early American and European home construction. Historically, the stool served a functional purpose as a shelf for candles, small plants, or decorative items, and the “horns” were designed to wrap around the casing to lock the stool into the wall assembly.
This joint helped prevent the stool from sagging over time. It also provided a solid landing for the apron, which is the trim piece installed directly beneath the stool.
In older homes, you will often find that the horn length was determined by the thickness of the wall and the depth of the window jamb. Carpenters frequently used the stool as a structural tie-in for the surrounding wall plaster or lath.
Today, the stool is largely decorative, but maintaining these traditional proportions keeps a house feeling authentic. If you are renovating a historic property, check the original trim profiles in other rooms to see if a specific, non-standard horn length was used by the original builder.
Measuring Your Trim for a Perfect Fit
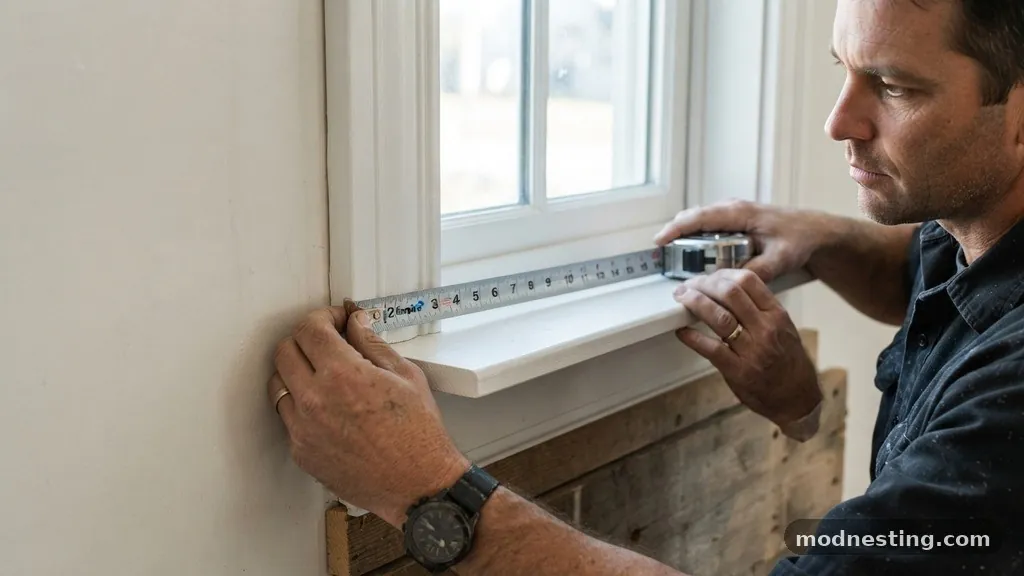
To calculate the total length of your window stool, start by measuring the width of the window opening including both side casings. Once you have that figure, add your desired horn length twice—once for the left side and once for the right.
For example, if your total casing width is 36 inches and you want a 1.25-inch horn on each side, your stool board needs to be 38.5 inches long. Always double-check this measurement before you make your final cut on the board.
Marking the cut requires precision, especially when you are dealing with expensive hardwood or custom millwork. Use a sharp pencil or a marking knife to scribe the exact line where the stool will meet the casing.
If your walls are not perfectly plumb—which is common in older houses—you may need to scribe the back edge of the stool to the wall surface as well. This extra step ensures that the stool sits flush against the wall without leaving an unsightly gap that would require excessive caulking.
Tools Required for Cutting and Fitting
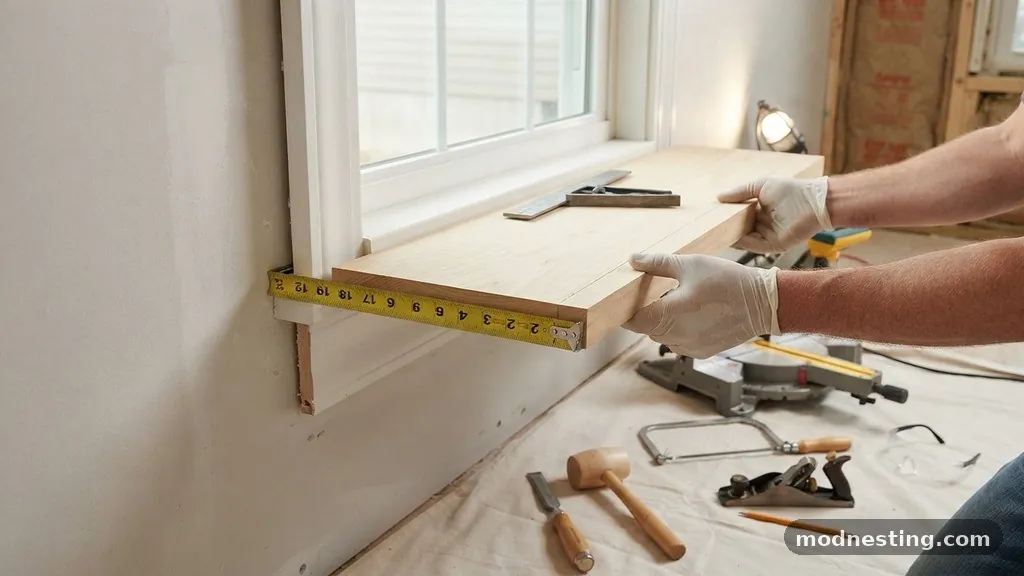
Having the right tools makes the process of cutting and fitting the stool much easier and more accurate. A high-quality miter saw is essential for making clean, square cuts on the ends of the stool, especially if you are returning the ends.
A table saw is often used to rip the stool to the correct depth, allowing it to sit against the window jamb properly. You will also need a coping saw if you are fitting the stool around an existing profile or a specific architectural detail.
Measuring tools like a combination square and a high-quality tape measure are non-negotiable. Many carpenters also keep a set of scribing tools, such as a compass or a contour gauge, to handle irregular wall surfaces.
If you are working with painted trim, a block plane can help you fine-tune the fit of the horns. For those interested in the technical standards of millwork, the Window & Door Manufacturers Association provides resources on how different trim components should interface within a wall system.
The Role of the Apron in the Assembly
The apron is the horizontal piece of trim that sits directly under the stool, and its length is directly related to the stool’s horn. Generally, the apron should be cut to match the width of the side casings exactly, or it can be slightly shorter depending on the style.
If the stool has horns, the apron provides a visual transition between the wall and the ledge. If the apron extends past the casing, it will look like it is fighting for attention with the stool horns.
Most carpenters align the ends of the apron with the outer edges of the side casings to create a clean, vertical line. This creates a “frame” effect that makes the window look like a singular piece of furniture.
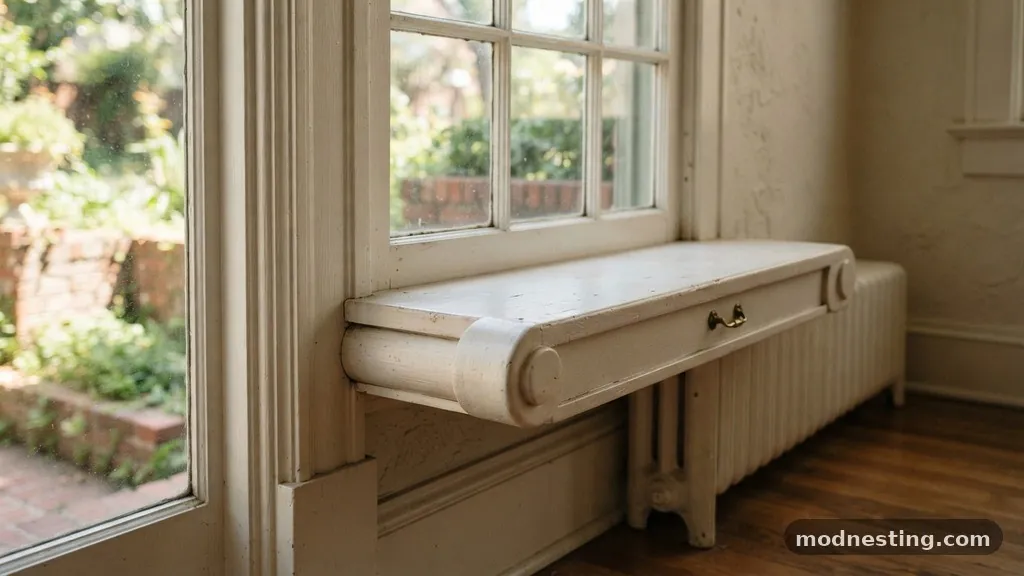
If you are using a thicker, more decorative apron, you might choose to add small decorative blocks at the ends to bridge the gap between the apron and the stool. This is a common detail in Victorian-era homes where trim profiles are layered and complex.
Common Mistakes to Avoid
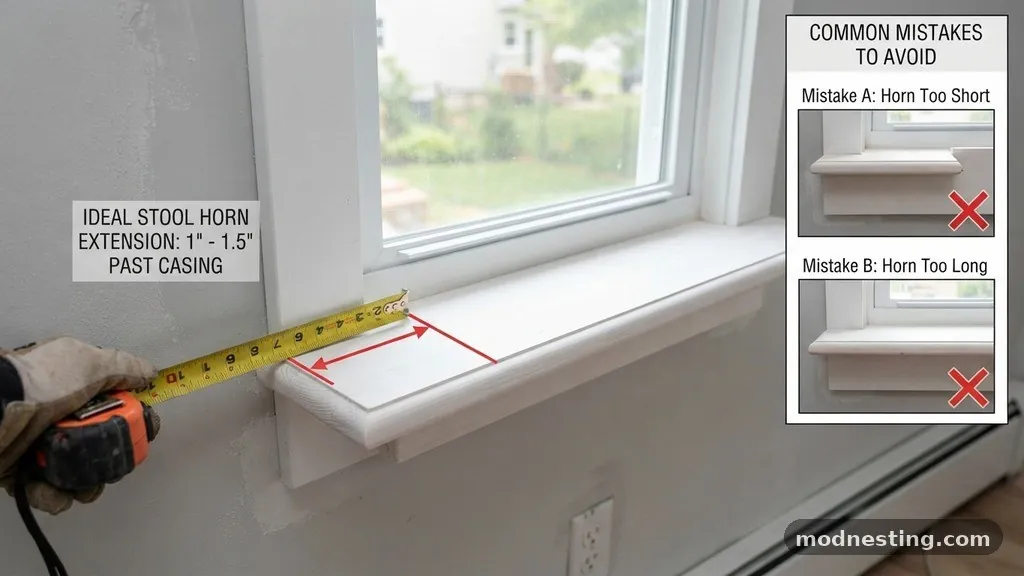
One of the most common mistakes is failing to account for the “return” on the end of the stool. A return is a small piece of trim that covers the exposed end grain of the stool, creating a finished, professional look.
If you are adding a return, you must subtract the thickness of that piece from your horn measurement. If you forget this, your stool will end up looking slightly too long once the returns are attached.
Another frequent error is ignoring the wall surface when measuring for the stool depth. If your wall is slightly bowed, a standard rectangular cut will leave a large gap between the wall and the back of the stool.
You must scribe the back of the board to the wall, even if it takes a little extra time. A stool that is not flush to the wall will eventually pull away or collect dust, which is difficult to clean.
Comparing Different Trim Styles
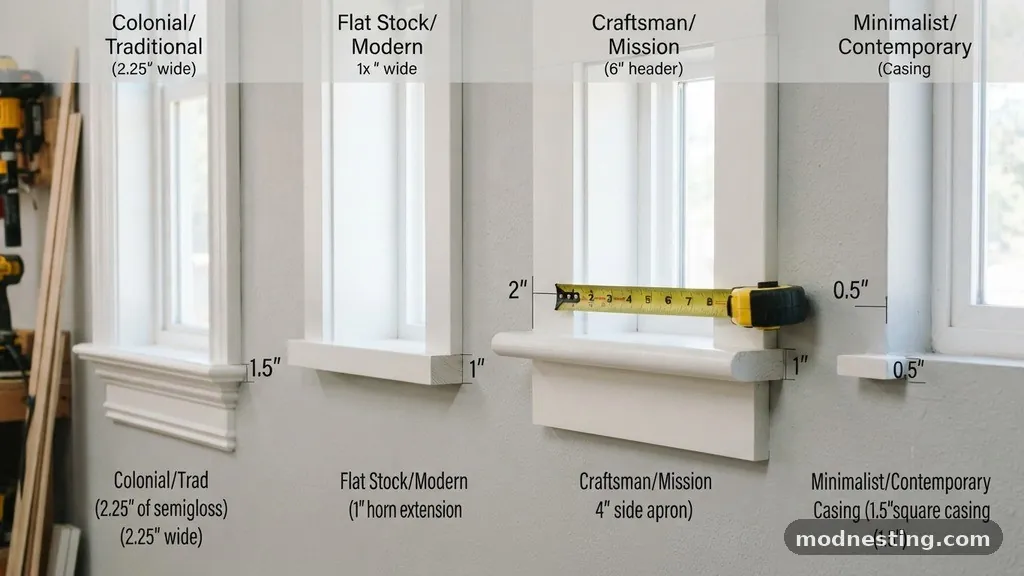
The length of the stool horn can vary significantly depending on the architectural style of your home. A minimalist home might feature a stool with no horns at all, where the stool is cut flush to the side casings.
In contrast, a farmhouse or craftsman-style home might feature deeper, wider stools with generous horns. The following table compares common approaches to window trim dimensions:
| Style | Horn Projection | Apron Alignment |
|---|---|---|
| Modern Minimalist | 0 inches (Flush) | Flush with casing |
| Standard Colonial | 1 inch | Flush with casing |
| Craftsman | 1.5 inches | Matches stool width |
| Victorian | 2 inches | Includes end blocks |
These figures are general guidelines and should be adapted to the specific scale of your windows. If you have very tall, narrow windows, you may find that a slightly shorter horn looks more proportional.
If you have wide, squat windows, a longer horn can help stretch the visual appearance of the window. Always test your proportions with a scrap piece of wood before committing to the final cut on your finish lumber.
Acoustic and Structural Considerations
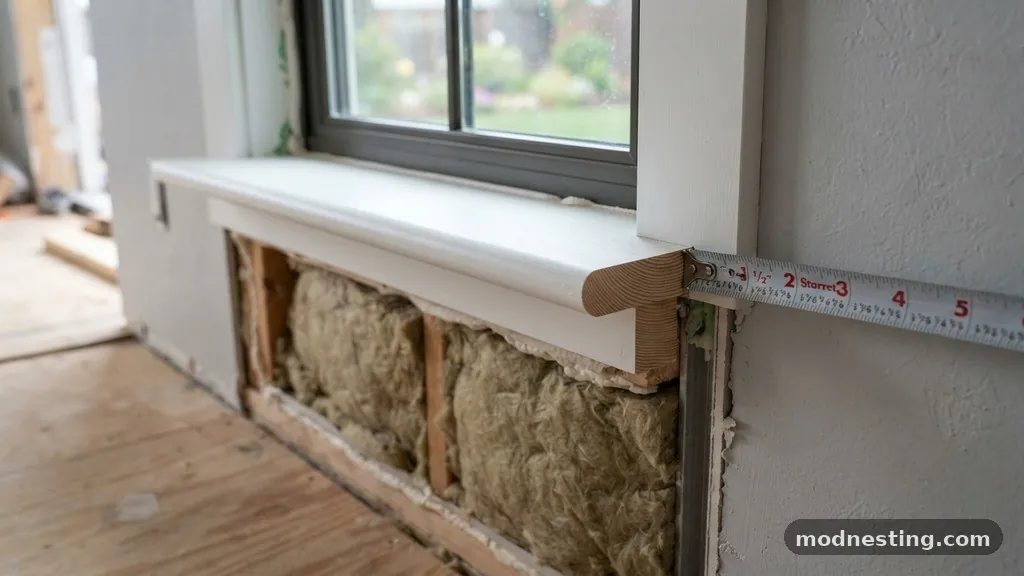
While we often think of the stool as a purely aesthetic feature, it also plays a small role in the acoustic and thermal sealing of the window. A well-fitted stool acts as a barrier that prevents drafts from entering the room through the space between the window frame and the wall.
By ensuring the stool is properly bedded in sealant or caulk, you can improve the overall energy efficiency of the window unit. This is particularly important in older homes with loose-fitting frames.
The stool also acts as a structural component that keeps the bottom of the casing in place. By nailing the stool into the wall studs and the window sill, you create a rigid frame that resists the movement of the wall over time.
This is why you should always use high-quality fasteners and, in some cases, construction adhesive. A loose or poorly installed stool will eventually lead to cracked paint and gaps in the caulk line, which will require ongoing maintenance.
Installation Best Practices
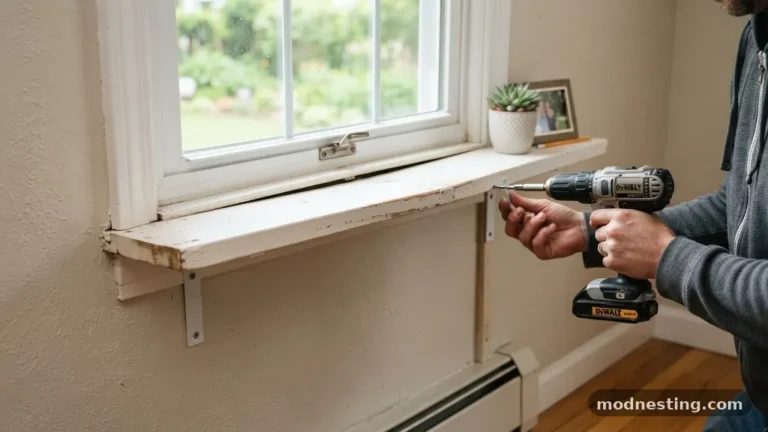
Start the installation by ensuring your window sill is level. If the sill is not level, your stool will also be out of level, which will be immediately apparent once the casing is installed.
Use shims to level the sill if necessary, and secure them with finish nails. Once the sill is set, cut your stool to size, including the horns and any necessary returns.
Apply a bead of high-quality, paintable caulk to the back edge of the stool before pressing it into place. This seal prevents air infiltration and provides a clean transition to the wall.
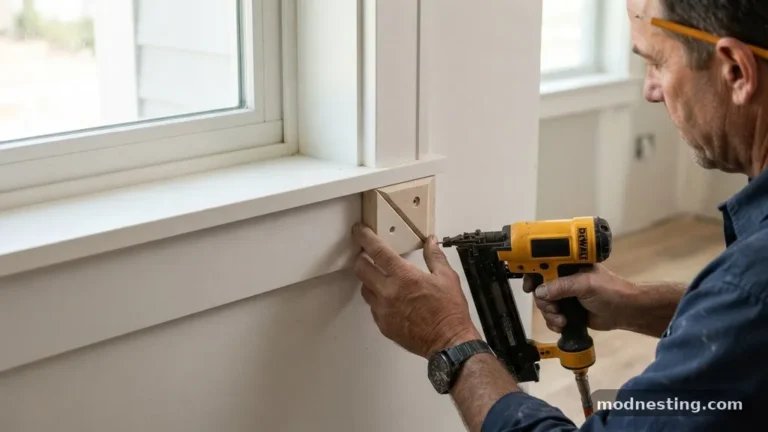
Nail the stool into the wall studs using 16-gauge finish nails, ensuring the heads are countersunk. If you are working with stain-grade wood, use headless pins or a wood filler that matches the species of the timber to hide the nail holes.
FAQ: Common Questions on Window Stools
Does the stool horn need to match the apron length?
Not necessarily. In most traditional designs, the apron is cut to match the outer width of the window casing, while the stool horns extend past the casing. This layering creates depth and prevents the window assembly from appearing flat or one-dimensional.
Can I install a window stool without any horns?
Yes, modern and minimalist design often omits the horns entirely. In these cases, the stool is cut to sit perfectly flush with the outside edge of the side casings. This look is clean and contemporary, but it requires precise cutting to ensure the joint between the stool and the casing is tight.
What is the purpose of a return on a stool?
A return is a small piece of wood attached to the exposed end grain of the stool horn. It covers the rough end of the board and provides a finished, rounded or decorative edge. It is a hallmark of high-quality finish carpentry and adds a layer of sophistication to the window trim.
How do I handle walls that are not square when installing a stool?
You should use a scribe tool to trace the contour of the wall onto the back of the stool board. Once you have the line, use a jigsaw or a block plane to carefully remove the excess material. This ensures a tight fit against the wall without the need for large, unsightly beads of caulk.
Is there a specific nail pattern for securing the stool?
You should nail the stool into the wall studs at every point where a stud is present behind the drywall. If the stool is particularly wide, consider adding a few nails into the window sill itself. Always use a nail gun with depth control to ensure the heads sit just below the surface for easy filling.
Final Thoughts on Window Trim Proportions
Mastering the proportions of the window stool “horn” is one of the most effective ways to elevate the look of your home’s interior. By adhering to the standard range of 1 to 1.5 inches, you ensure that your windows look balanced, intentional, and architecturally sound.
While trends in interior design may come and go, these classic measurements provide a reliable framework that works in almost any setting. Remember that consistency is your best tool; once you have selected a dimension that complements your specific casing and wall style, apply it throughout the house for a professional result.
Take the time to measure twice, account for the thickness of your returns, and scribe the back edge to the wall to avoid gaps. These small, deliberate choices in the installation process are what separate a DIY project from a truly polished interior.
Whether you are aiming for a traditional look with prominent horns or a modern finish that sits flush, the most important thing is that the final result is clean and well-executed. If you ever feel uncertain about the visual balance, mock up a quick template with scrap wood to see how the dimensions feel in the room before cutting your finished material.